%201.svg)
How to Compose an Email
Compose an email and send it to contacts and users for sales.
- Purpose: This is a step by step explanation on how to compose an email and send it to the respective contact or users in Thriwin.
Step-by-Step Instructions
Start Composing
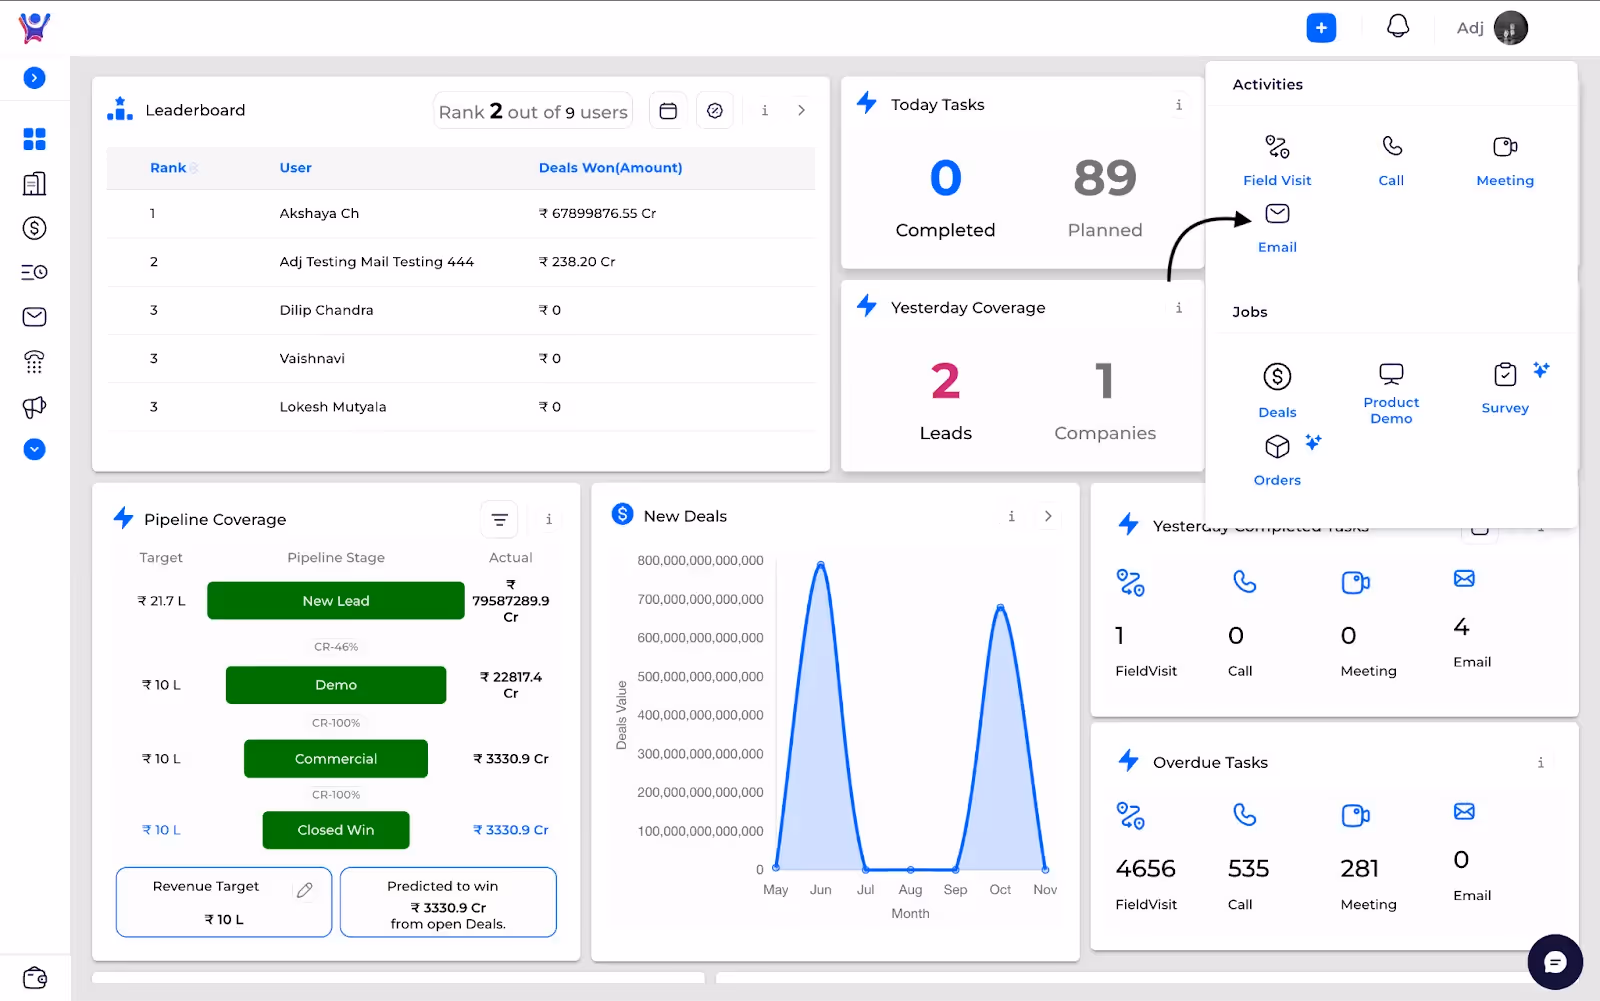
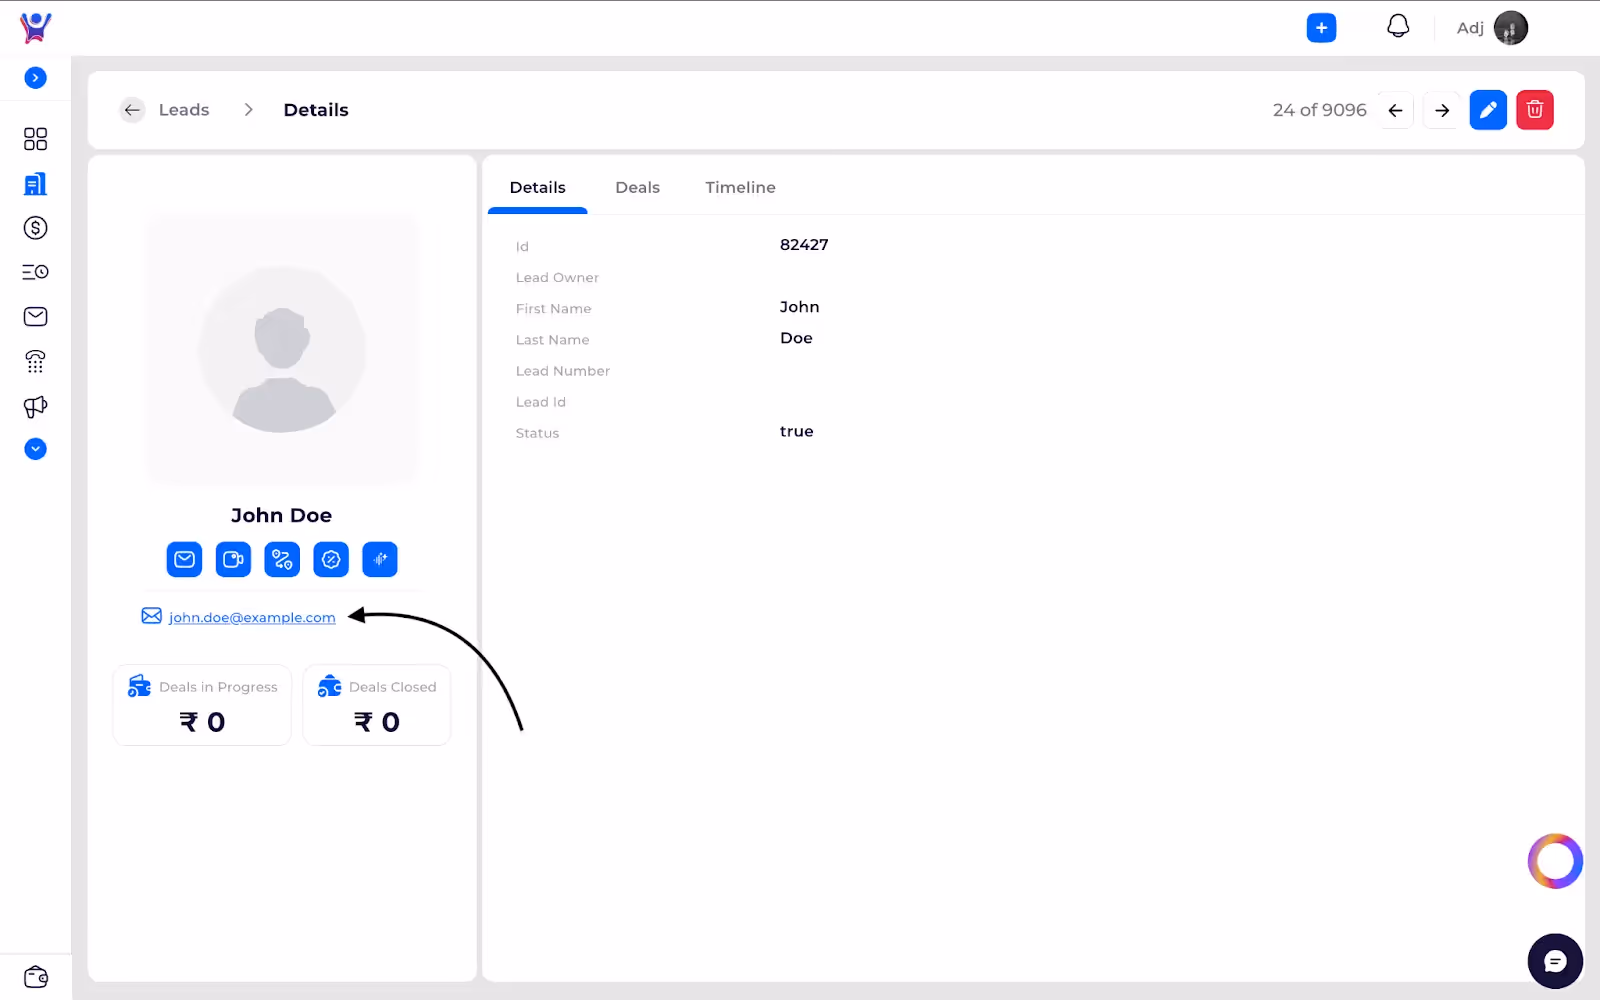
- There are multiple ways to start composing an email as shown in the screenshots below.

Email Form
- On starting to compose it should show the email creation form as shown in the below screenshot

Email fields
This is a description of all the fields in the above email form.
- From - The email you have connected and the email-id from which mail will be sent from.
- To - Search with the user name and email across all contacts and users and select whom you want to send the mail to.
- Cc(optional) - Search with the user name and email across all contacts and users and select whom you want to send the mail as cc.
- Bcc(optional) - Search with the user name and email across all contacts and users and select whom you want to send the mail as bcc.
- Subject - Here you can enter the subject of the email. Please note it is a mandatory field.
- Body - Here you can enter the body of the email and can also use formatting accordingly.
- Paperclip Icon - To insert attachments to your email. Added attachment is shown as below and can be removed by clicking the close at the end of the attachment.

.
- Mail suggestions icon - The icon after the paper clip icon shows a popup that shows AI generated mail suggestions as seen in the image below. You can update the Email Objective, Tones and emotions and Reply Length from a set of options to generate a response. You can use the generated response by clicking insert response or regenerate another response if it is not to your liking

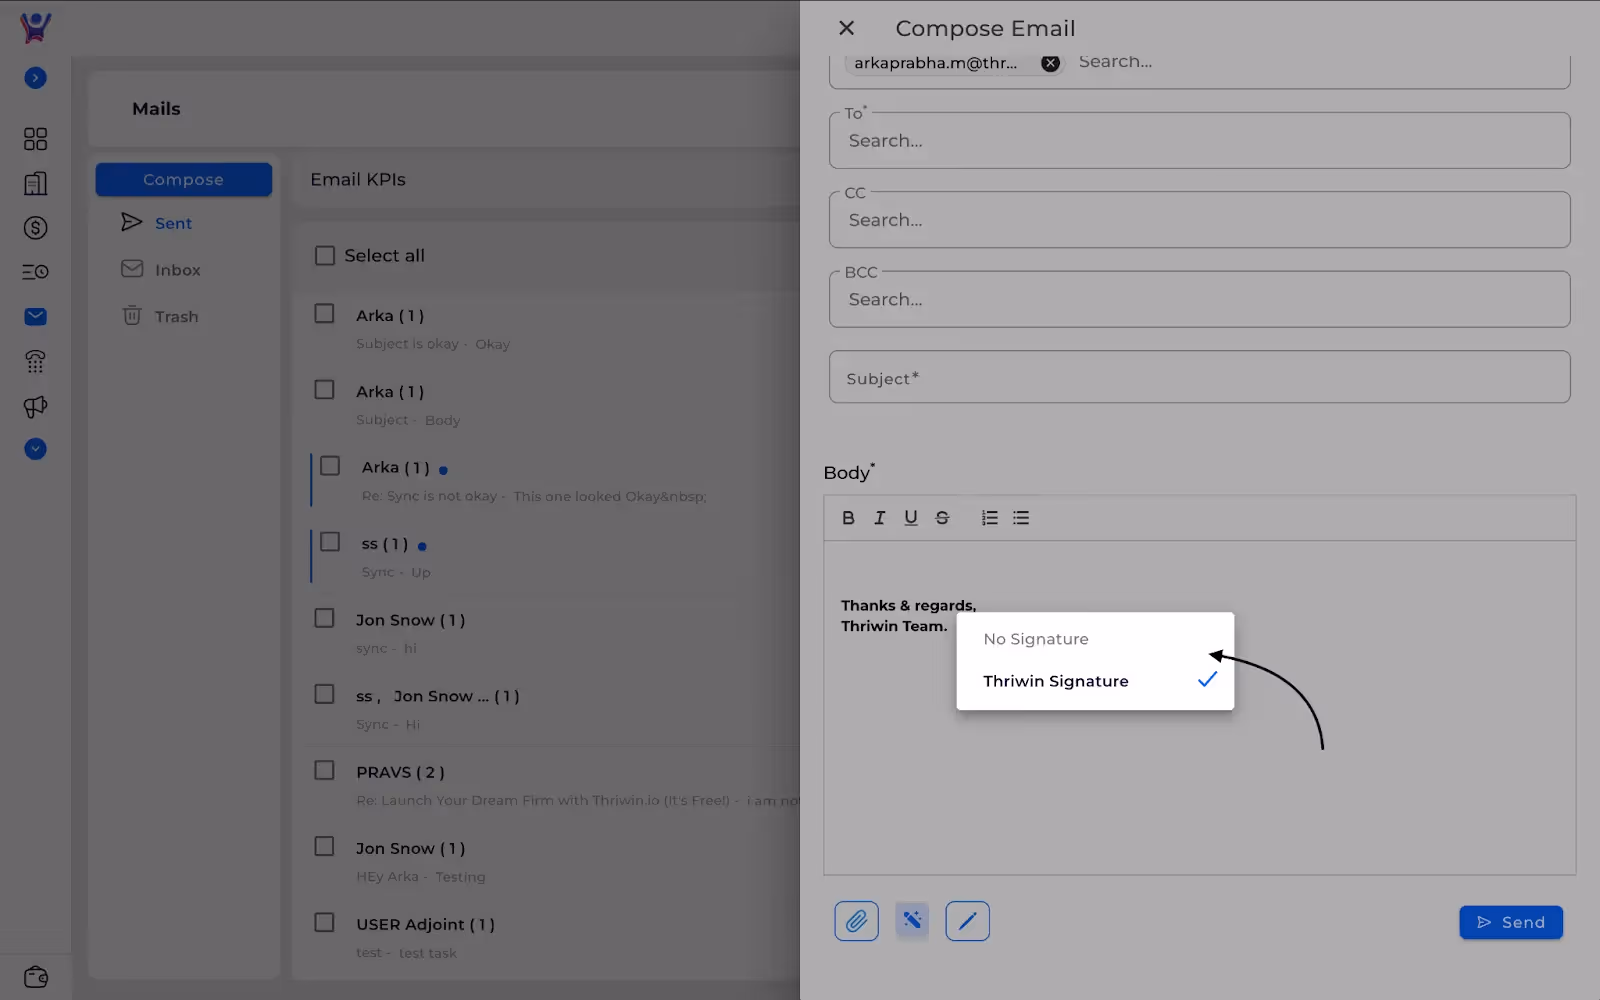
- Signatures Icon - The signatures icon shows the set of signatures available for the connected email in Thriwin. For example in the below screenshot Thriwin Signature is selected and is seen in the body.
- Send Button - This button will send the email based on the fields you have entered.
FAQs
- Question 1: Can I send an email to someone who is not a contact or a user in Thriwin?
- Answer: Yes, just type the email-id of the person in the “To” field and press enter the email will be auto selected.
- Question 2: Why can I not see any signatures?
- Answer: Signatures are by default shown from Thriwin platform and needs to be added in Thriwin separately. We do not import existing signatures that have been added to your mail provider on their website.
Need More Help?
- Contact Support: For further queries, reach out to our Support Team.


.svg)


.svg)