Builder View
Switch Layout
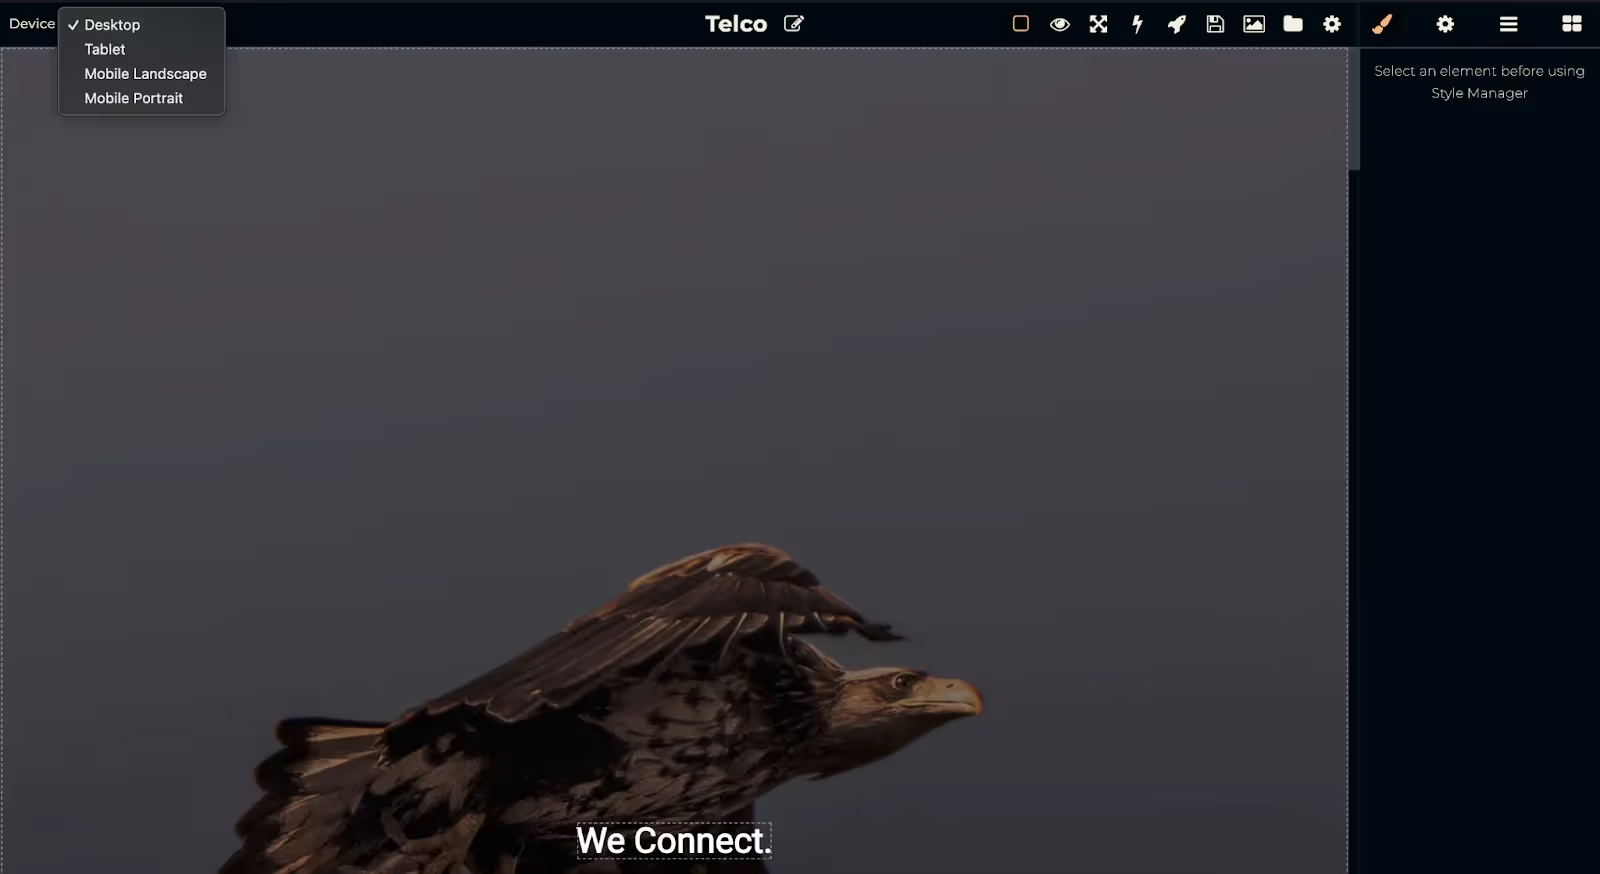
- Click on the device icons in the top-left corner of the page builder to switch between different device layouts, such as desktop, tablet, and mobile views. This allows you to preview how the landing page will look on various devices and make necessary adjustments to ensure a responsive design.
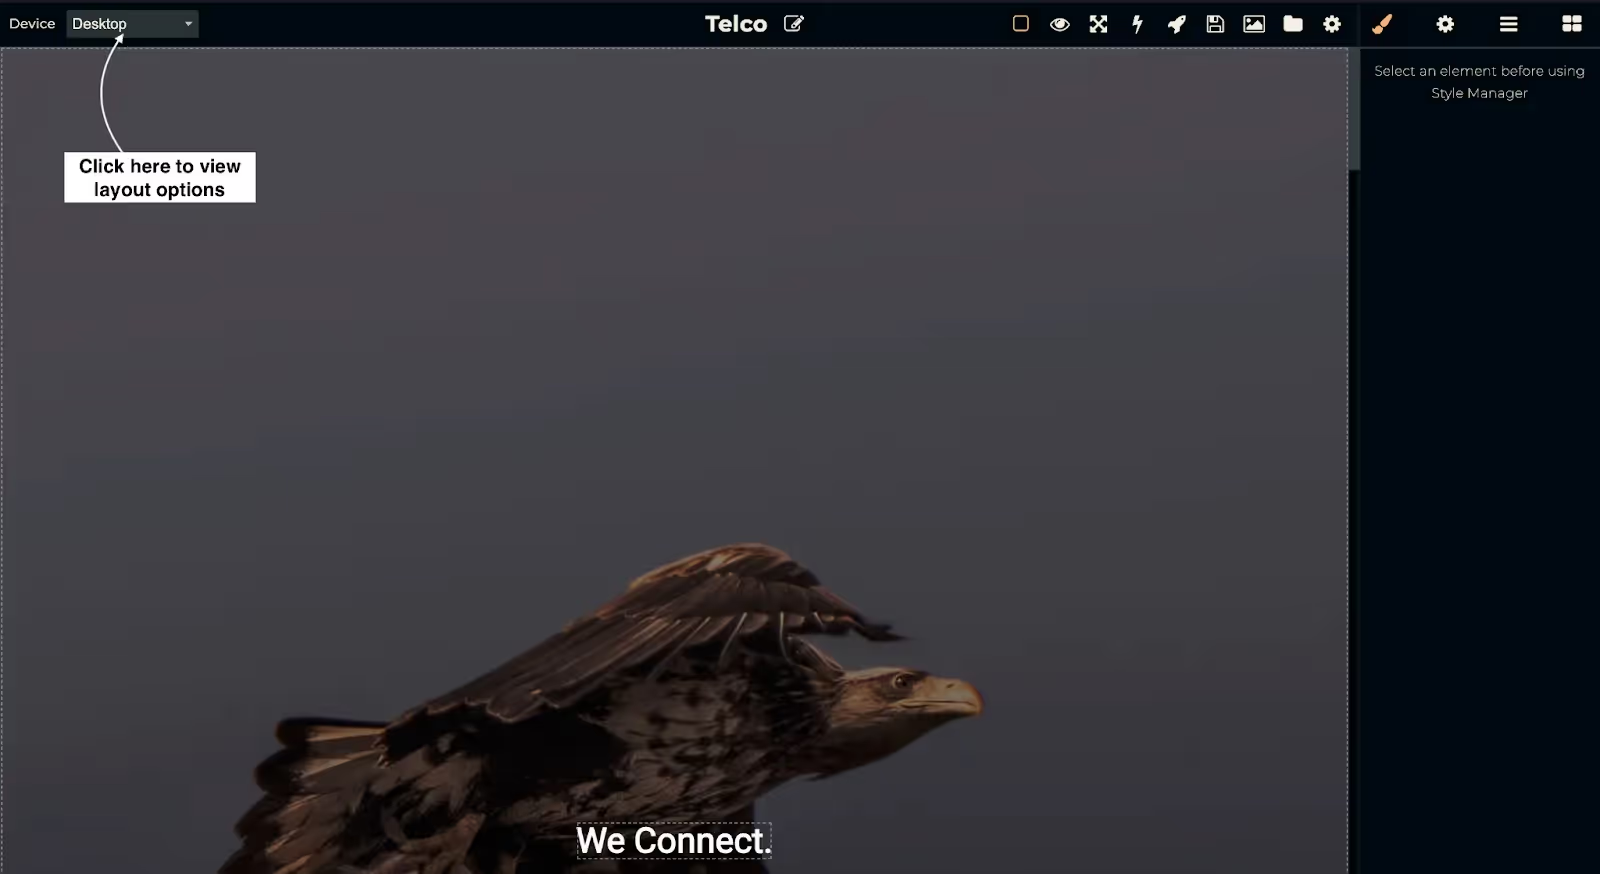
- From the dropdown in the top-left corner of the builder, select the desired device layout (Desktop, Tablet, Mobile). This enables you to view and edit the landing page for that specific device layout, ensuring the design and content are optimized for each device type.
Edit Page Title
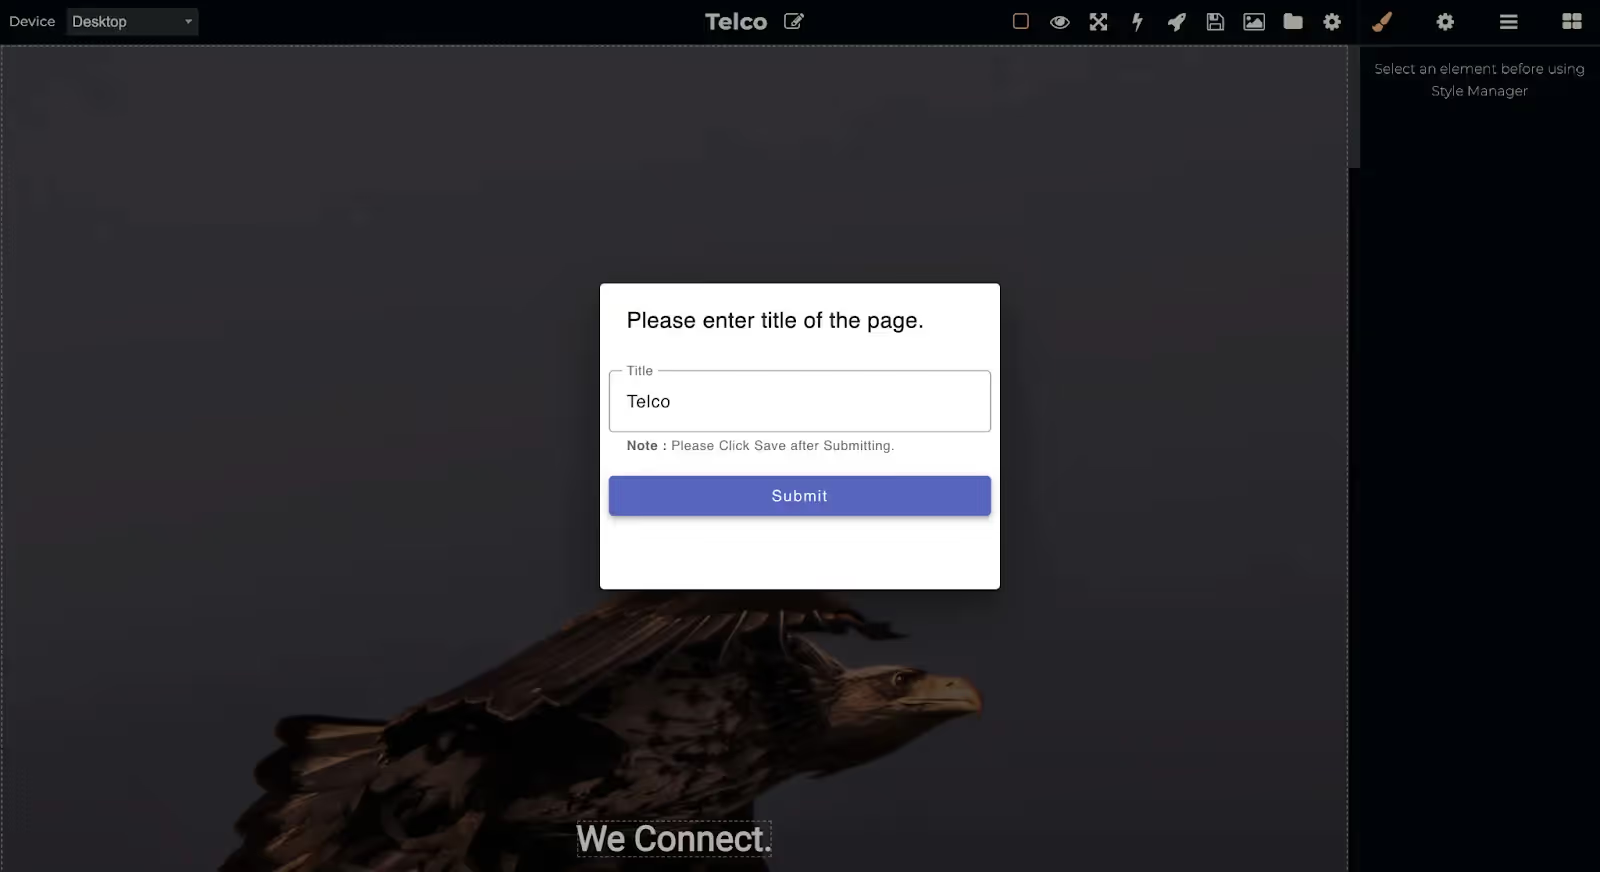
- Click the pencil icon located at the top center of the builder, next to the page name. This allows you to edit and rename the page to your desired title.

Step 2 :
- A pop-up will appear with the current name pre-filled. Update the name as needed and click on Submit to save the changes.
Save Page
Step 1 :
- Click on the Save button to save the current state of the page.

Publish Page
- Click on the Rocket icon in the top bar to save and publish the current version of the page.
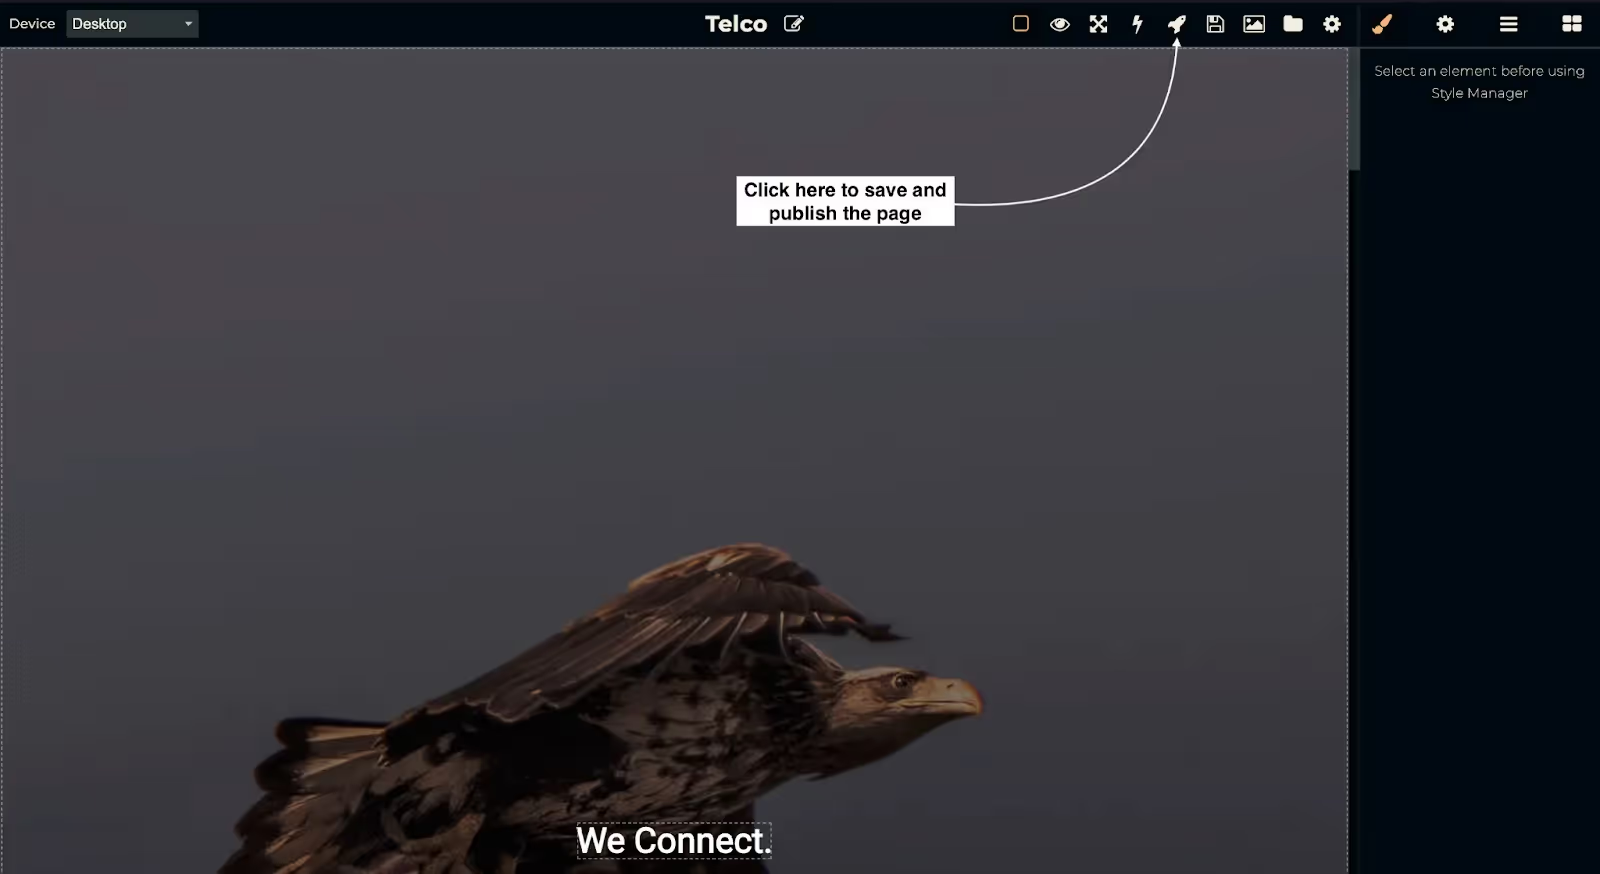
- If the page has not been configured for publishing, a pop-up will appear requesting essential details such as page title, slug, and description for SEO optimization. Complete the required fields and click Submit to publish the page.

- After submitting the SEO details, you'll be redirected to the domain selection screen. All connected and available domains for publishing will be displayed. By default, page.thriwin.io is selected. You can change the domain if needed and click Publish. This will generate and provide the final published URL for the page.
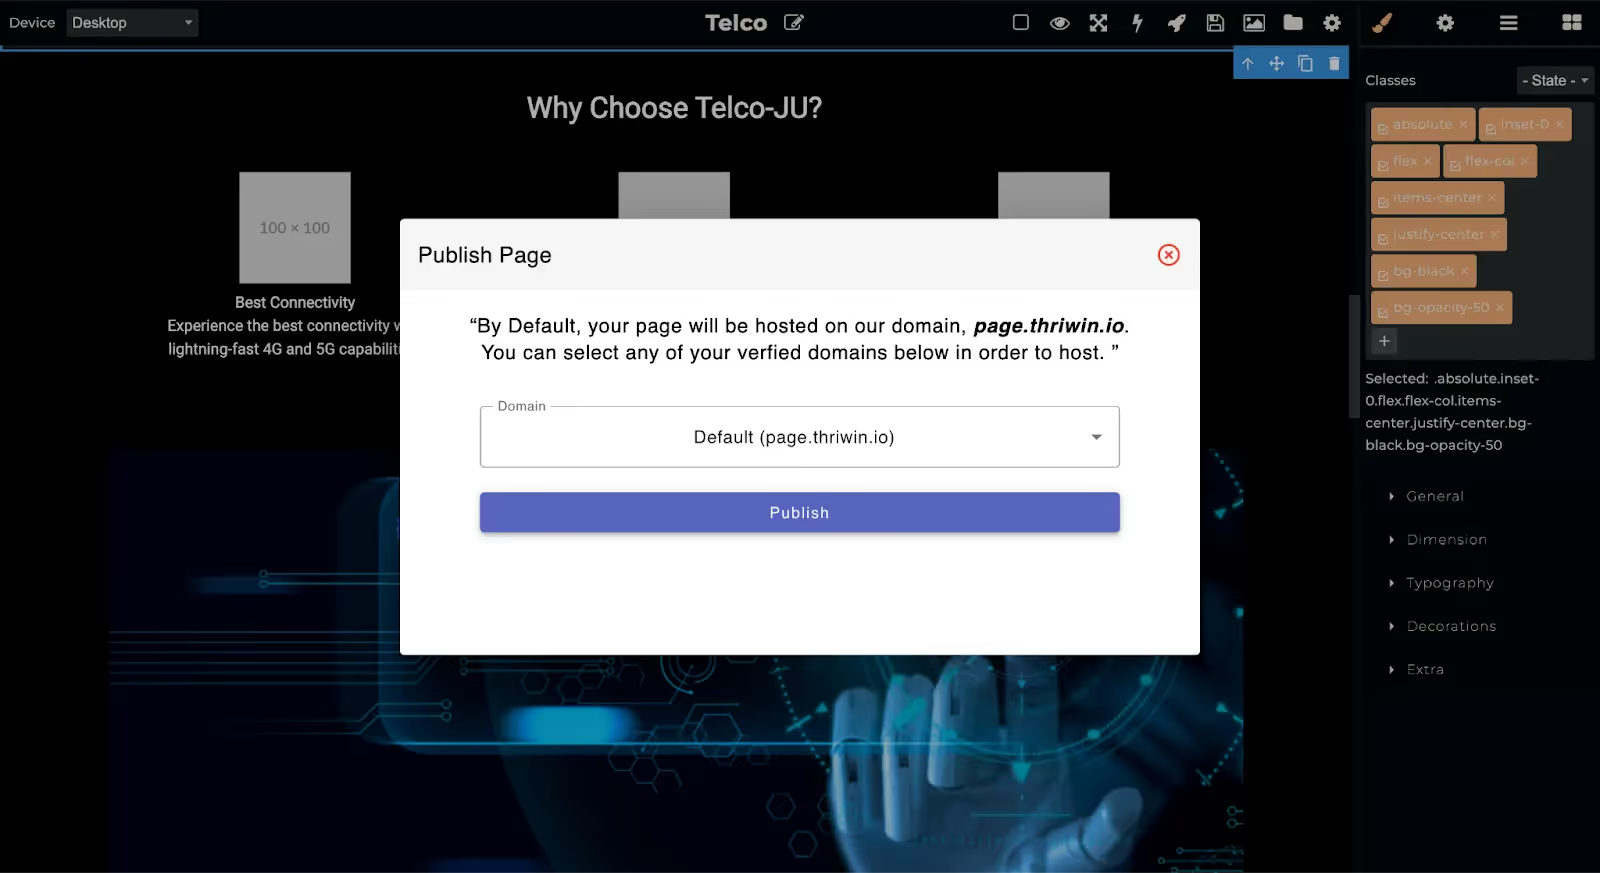
Template Selection
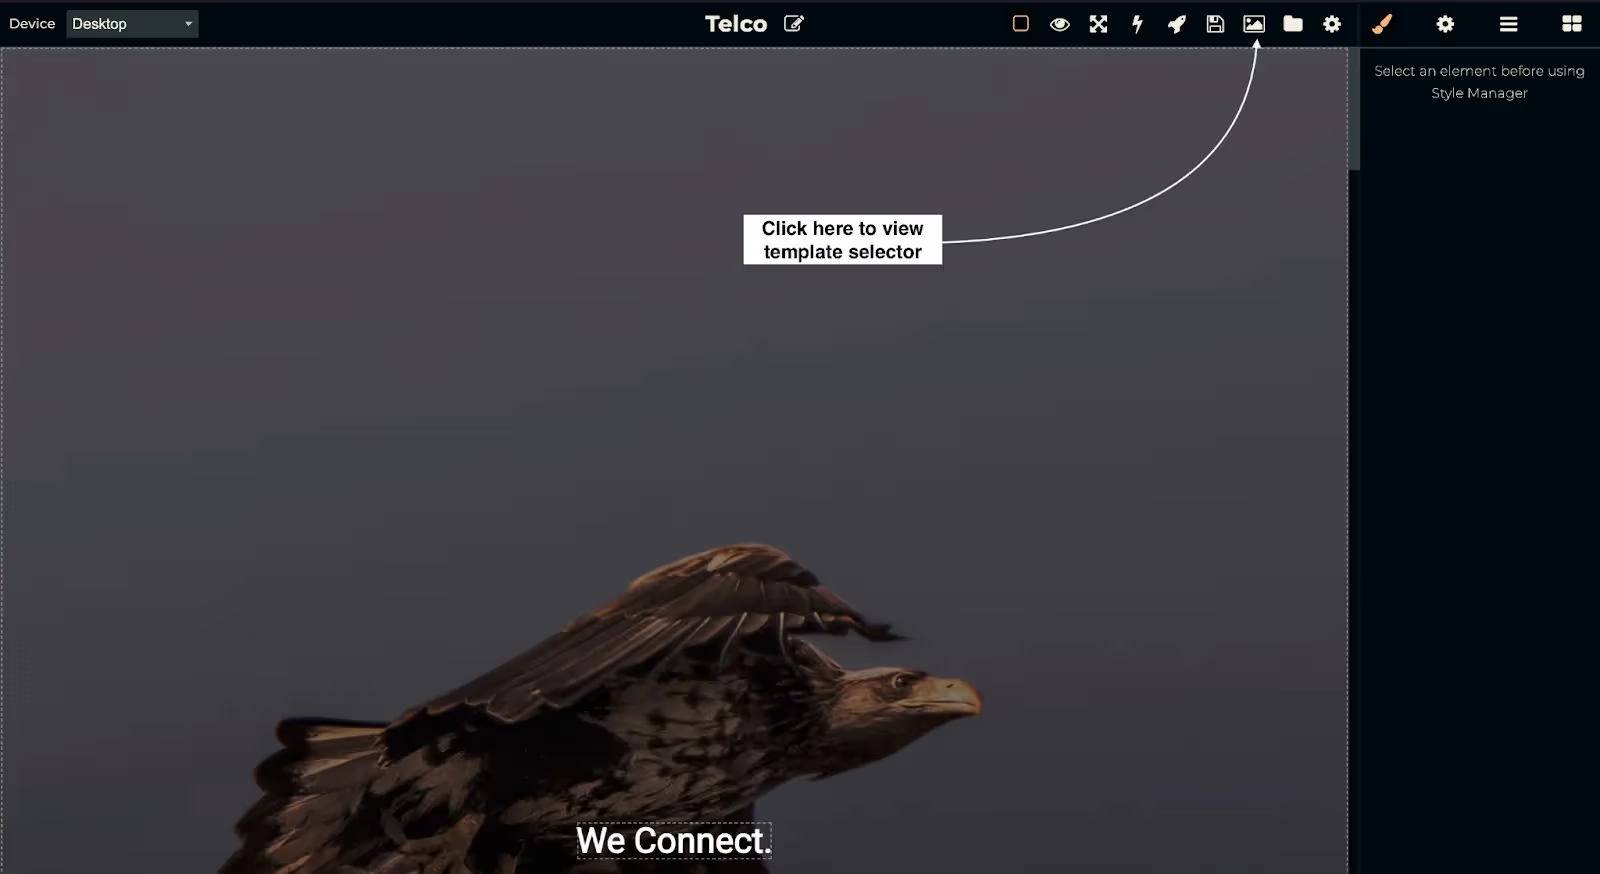
- Locate and click the template selector icon in the top toolbar. The icon appears as a folder/document symbol, positioned near the right side of the top menu bar.
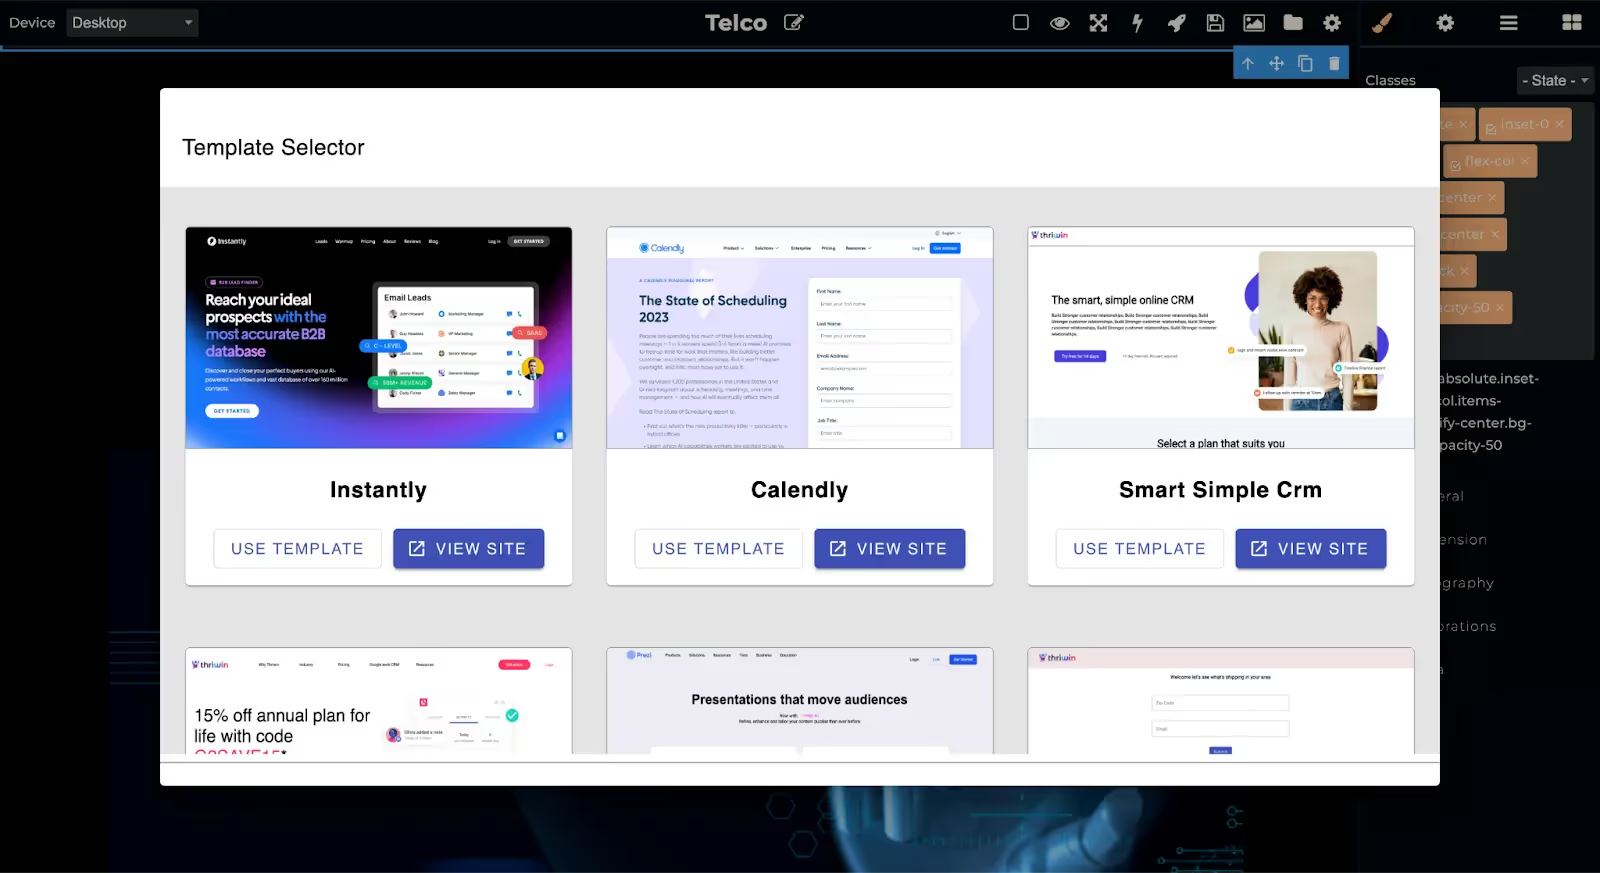
- Pick the desired template from the list displayed on the page, as shown in the image below. This template will serve as the foundation for creating your landing page.
Asset Upload
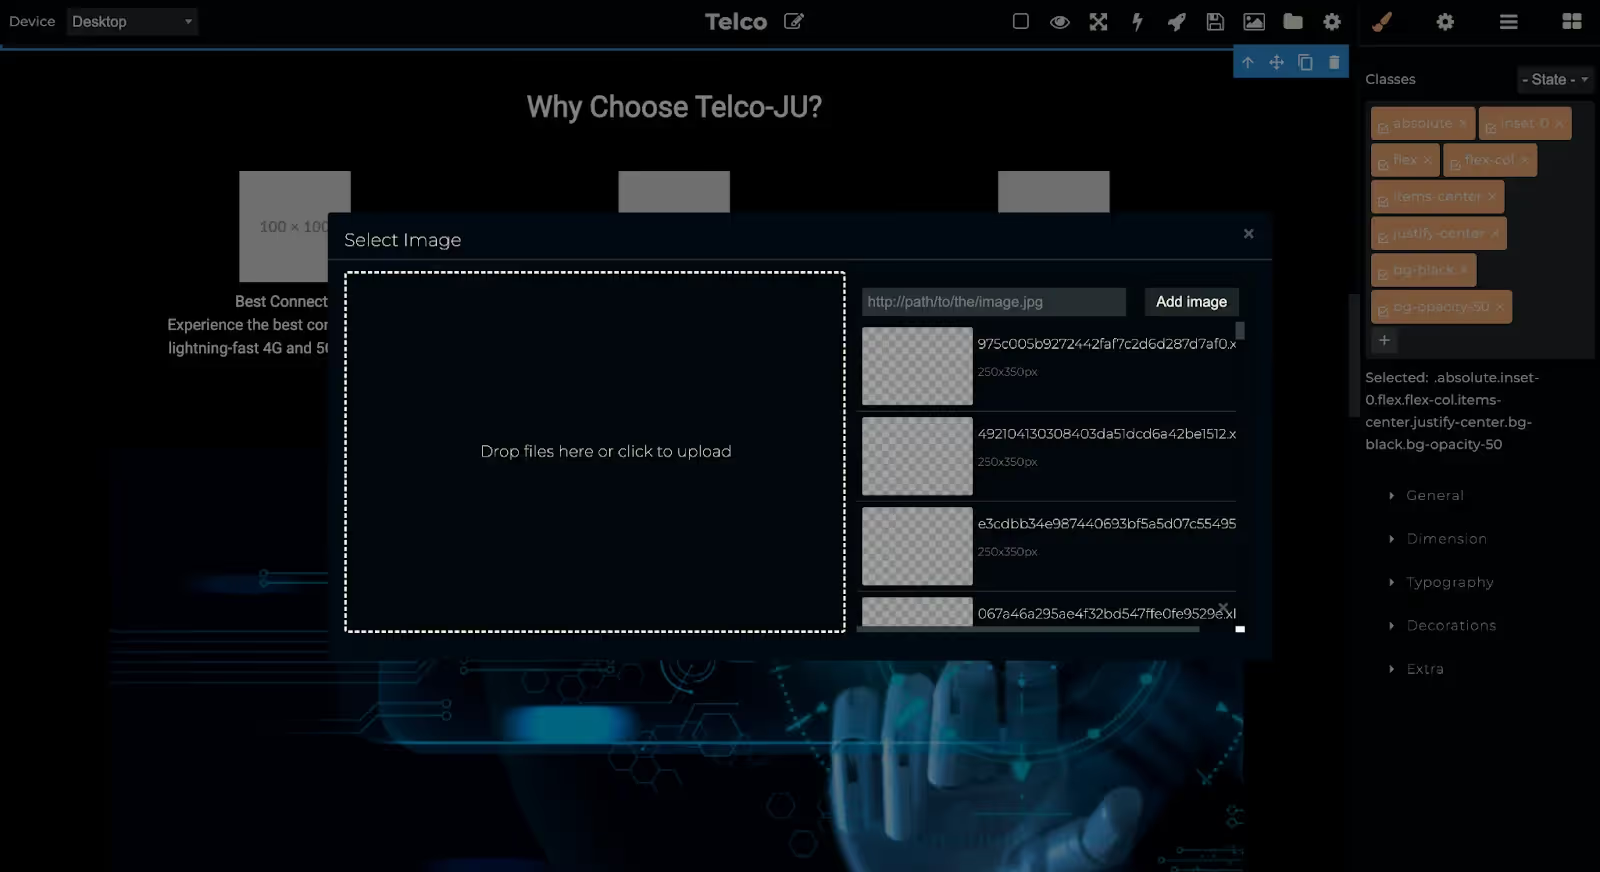
- Access the Asset Manager by clicking the icon in the top toolbar. The icon is located near the right side of the top menu bar.
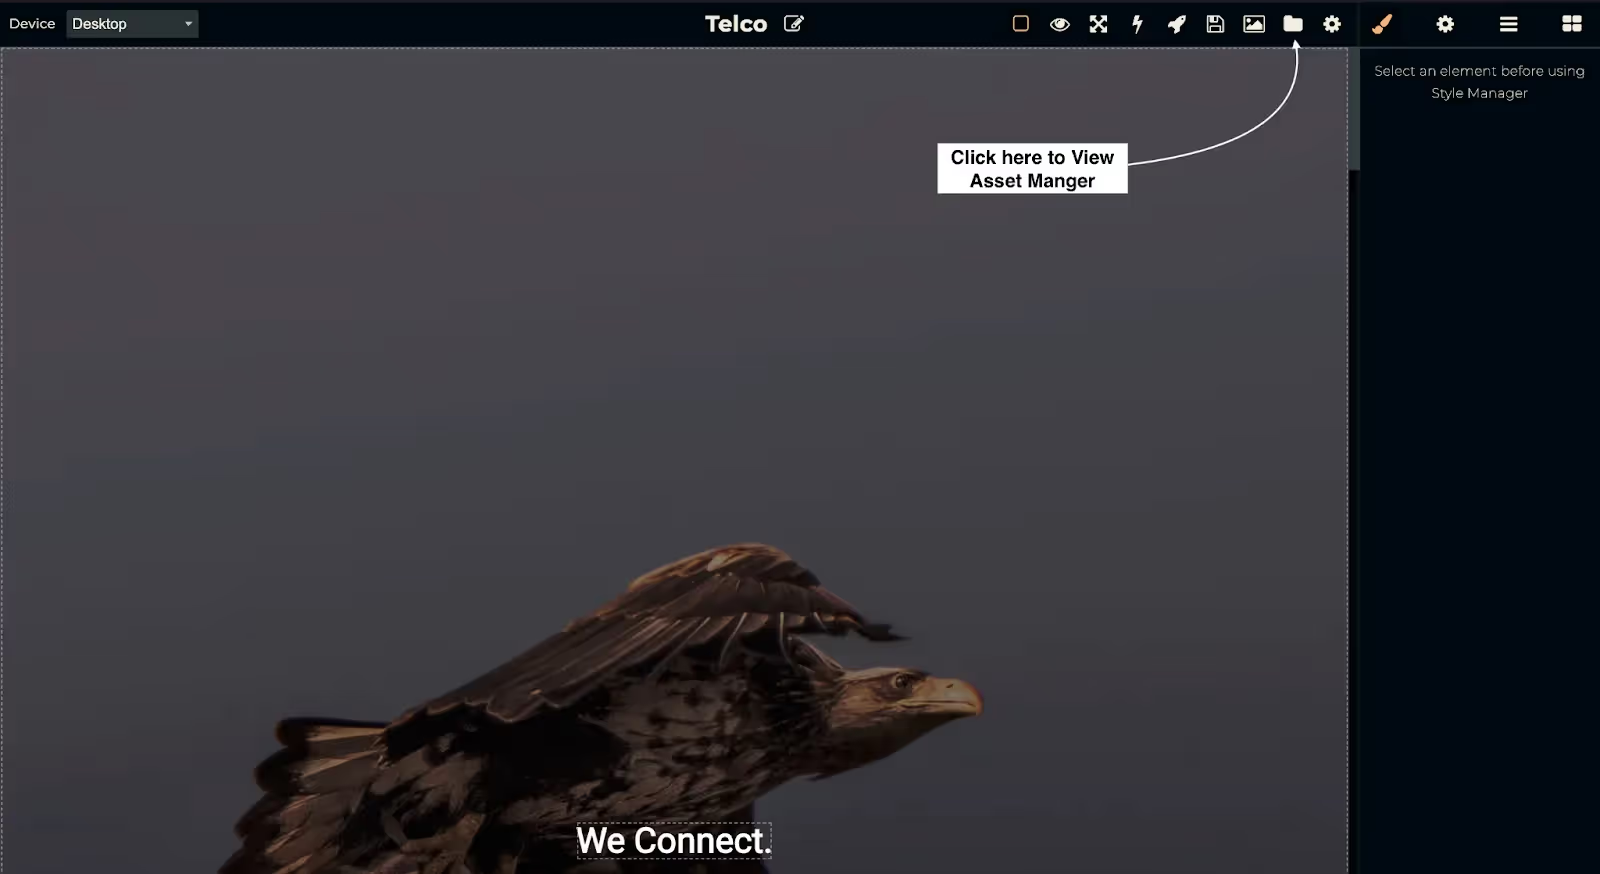
- Select existing images from asset manager, or upload new images by clicking the Add Image button. This will allow you to personalize your landing page with the appropriate visuals.
Preview Page
- The preview icon can be found in the upper-right portion of the screen, displayed as an eye symbol. This preview feature is essential for ensuring your content appears as intended before publishing.

Generate / Regenerate Page with AI
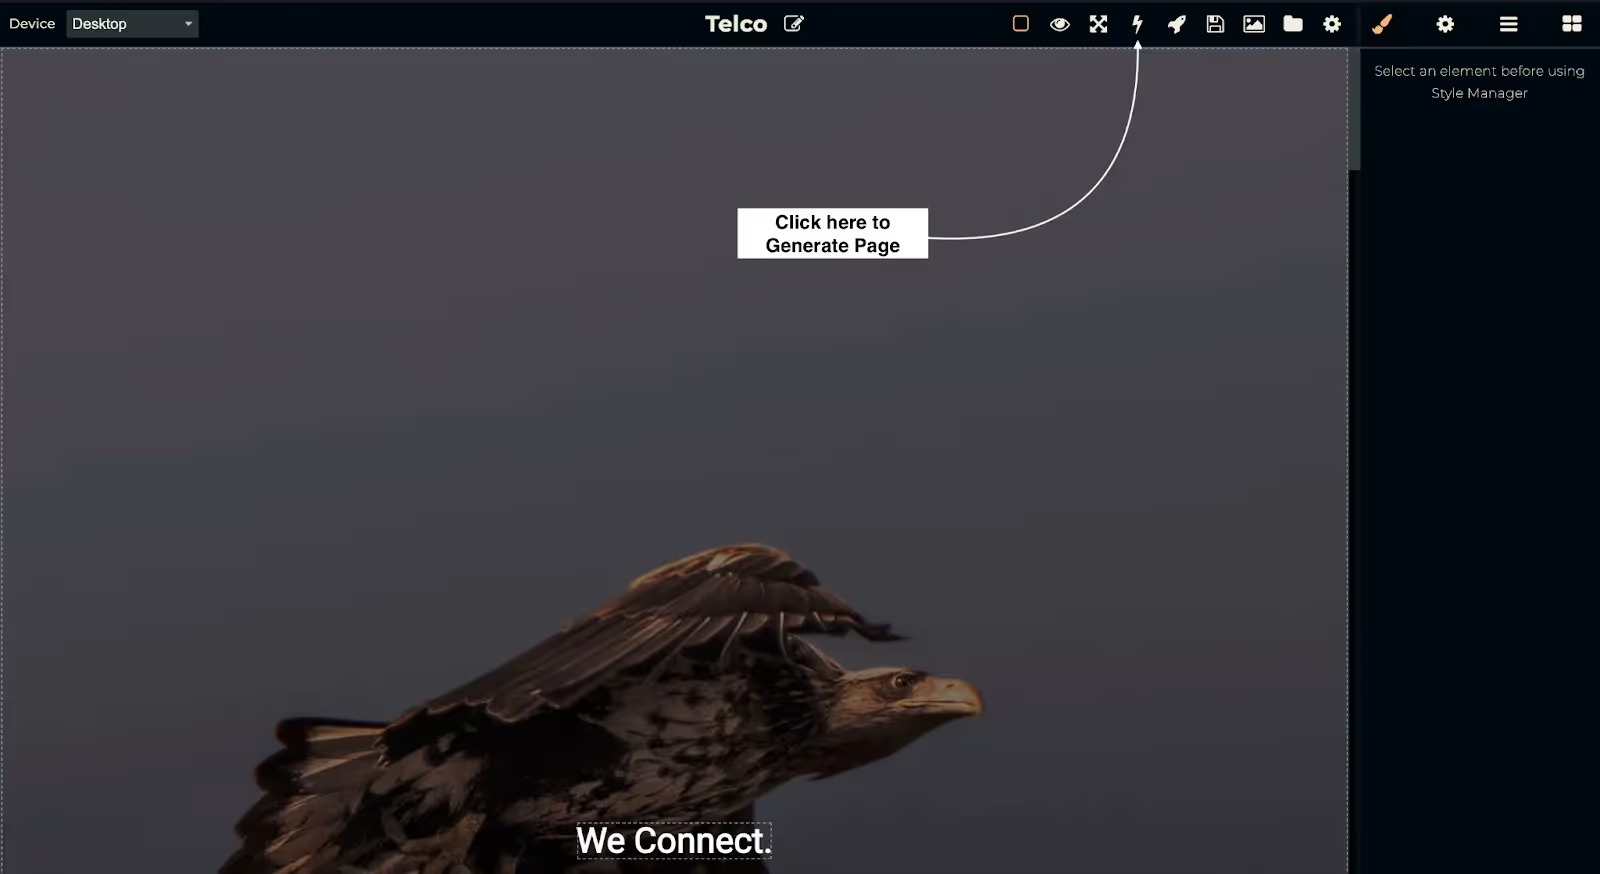
- Locate and click the page generation icon in the top toolbar, near the right side of the screen. The icon appears as a lightning bolt symbol.
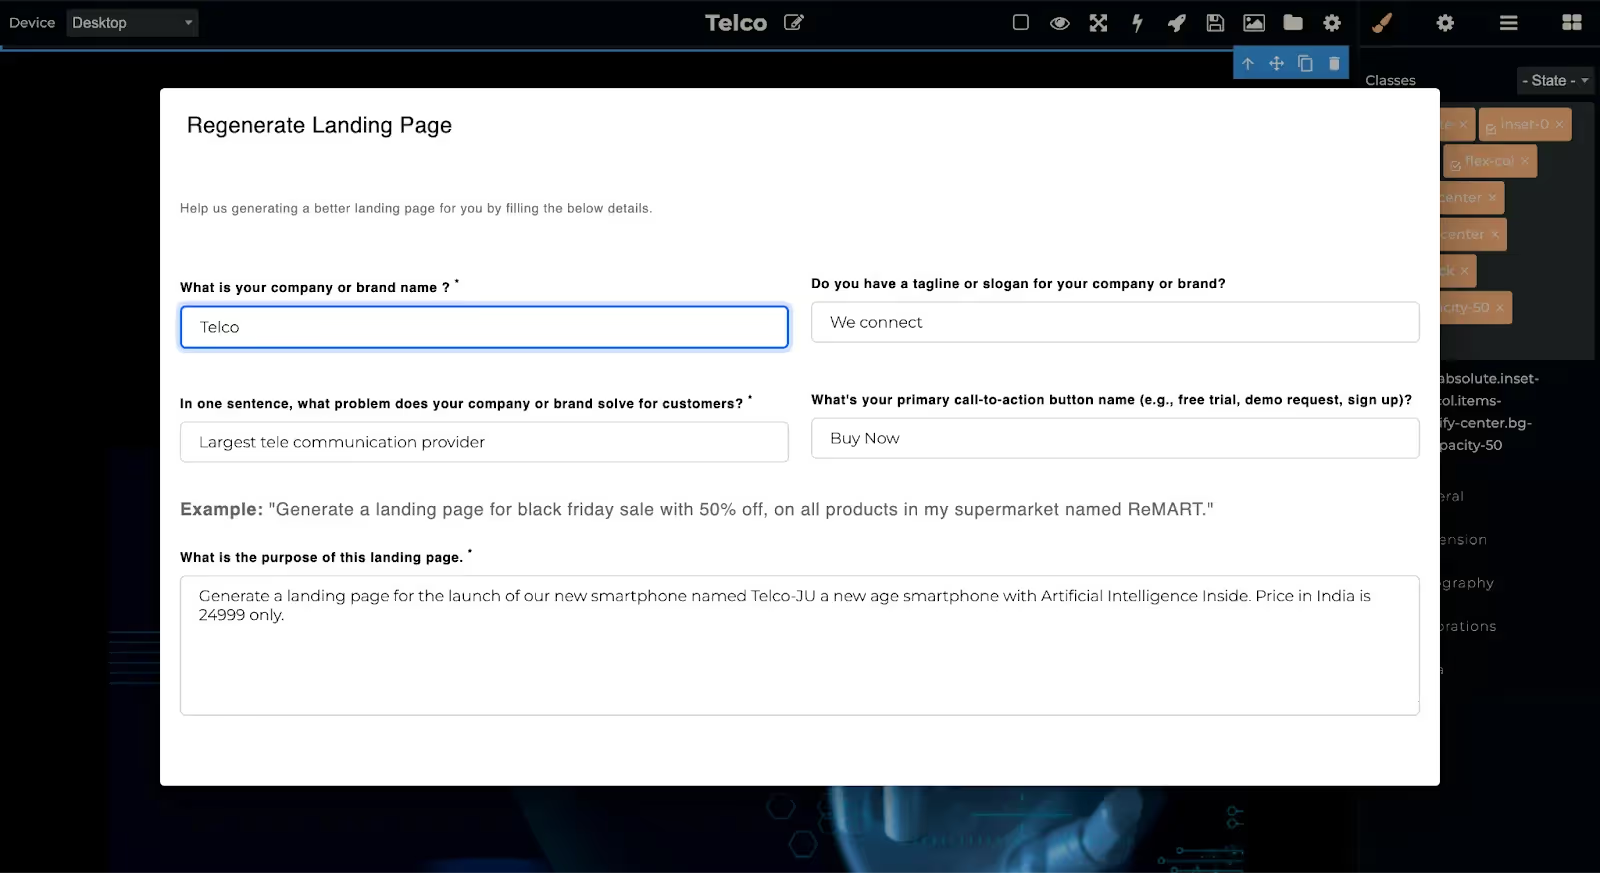
- A form will appear allowing you to enter the essential details of the landing page. Here’s a guide for filling in the required fields in your form:
- Company/Brand Name (Required): Enter the name of your company or brand. (Example: "Telco")
- Tagline or Slogan: Input your company’s tagline or slogan to summarize its mission or values. (Example: "We connect")
- Problem Solution Statement (Required): Provide a brief description of the core problem your company solves or its primary value proposition. (Example: "Largest telecommunication provider")
- Call-to-Action Button Text: Define the text that will appear on the call-to-action button to encourage user interaction. (Example: "Buy Now")
Add a new element:
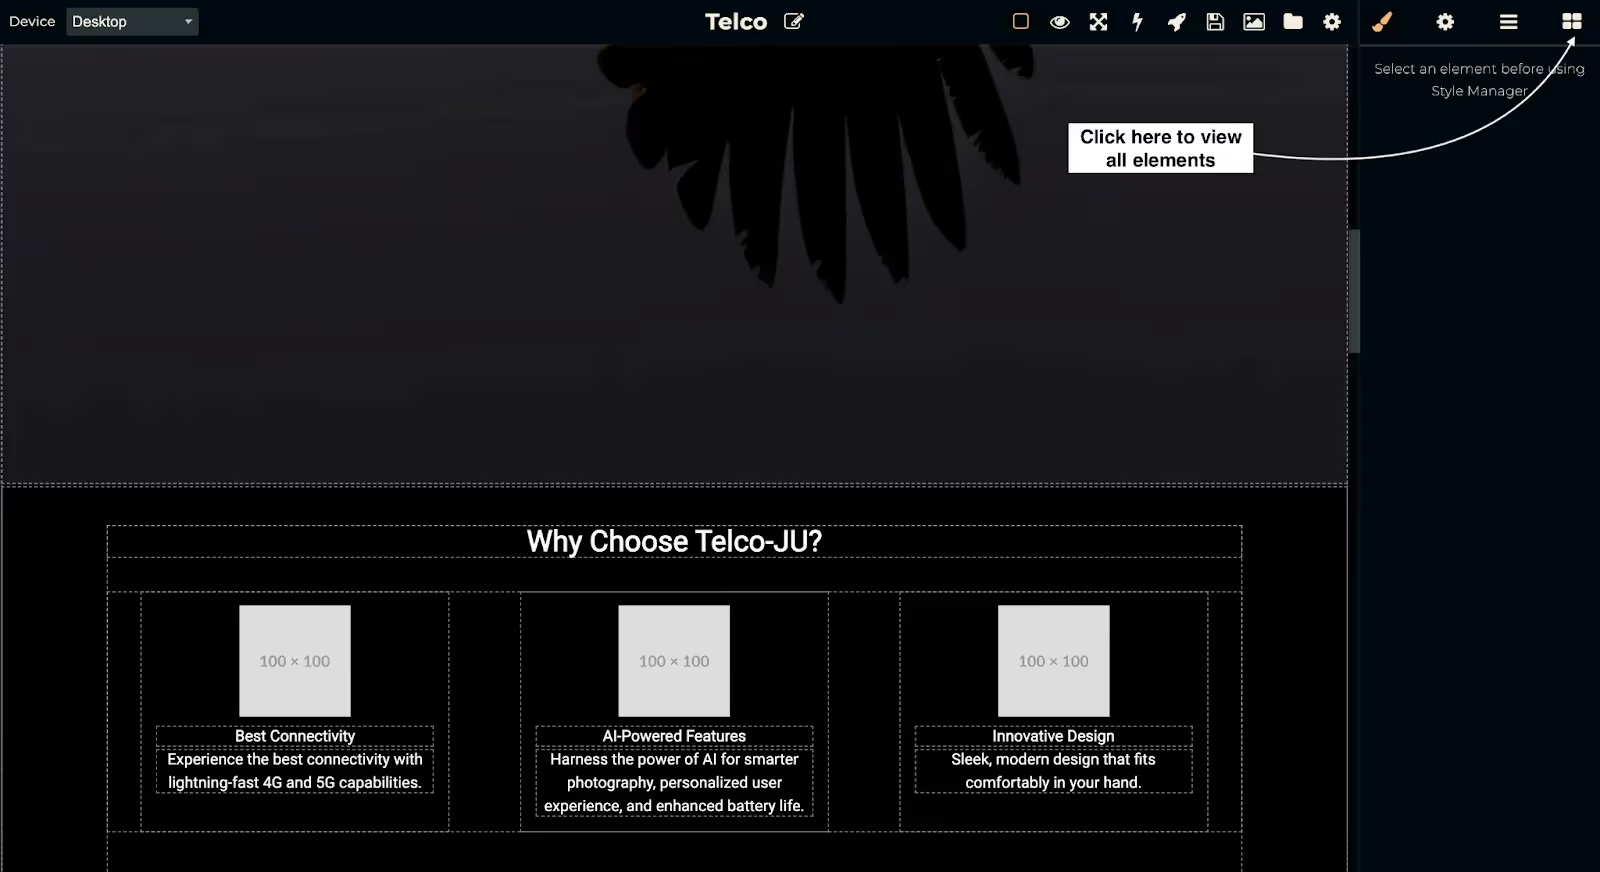
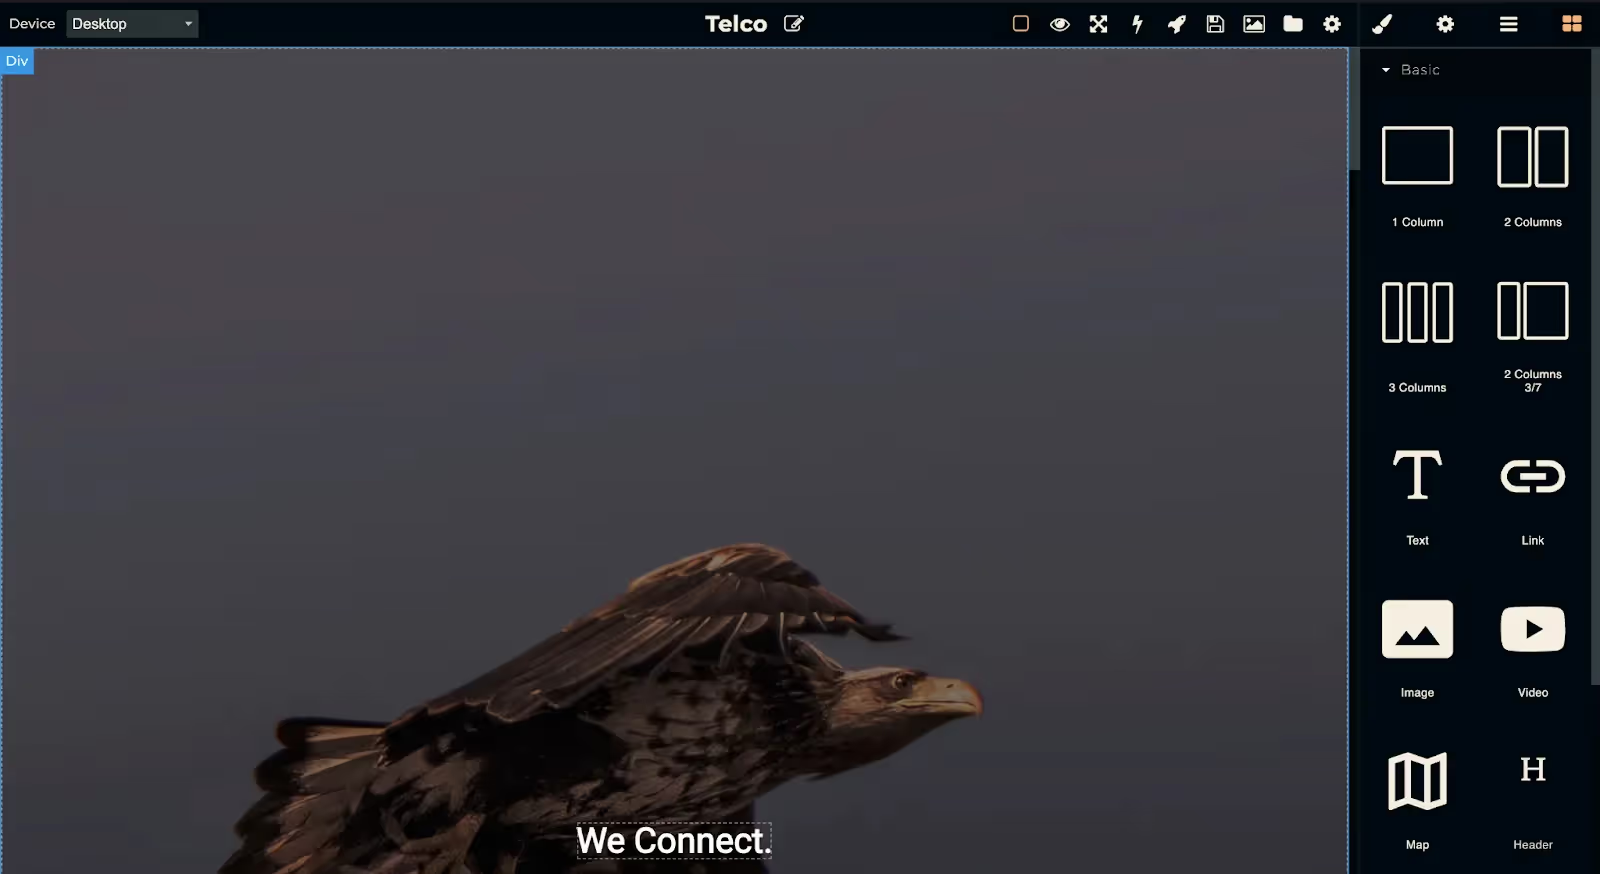
- To view all elements on your landing page, click the grid icon (represented by nine dots) located at the top-right corner of the toolbar, in the main navigation bar. This will provide a comprehensive view of the page’s structure, displaying individual components, section layouts, and content blocks. The feature offers a clear overview of the page’s architecture, helps in understanding the relationships between different elements, and facilitates easy navigation between them. It is a useful tool for efficiently selecting and editing specific elements, ensuring precise control over the page’s layout and content organization.
Change Element Properties
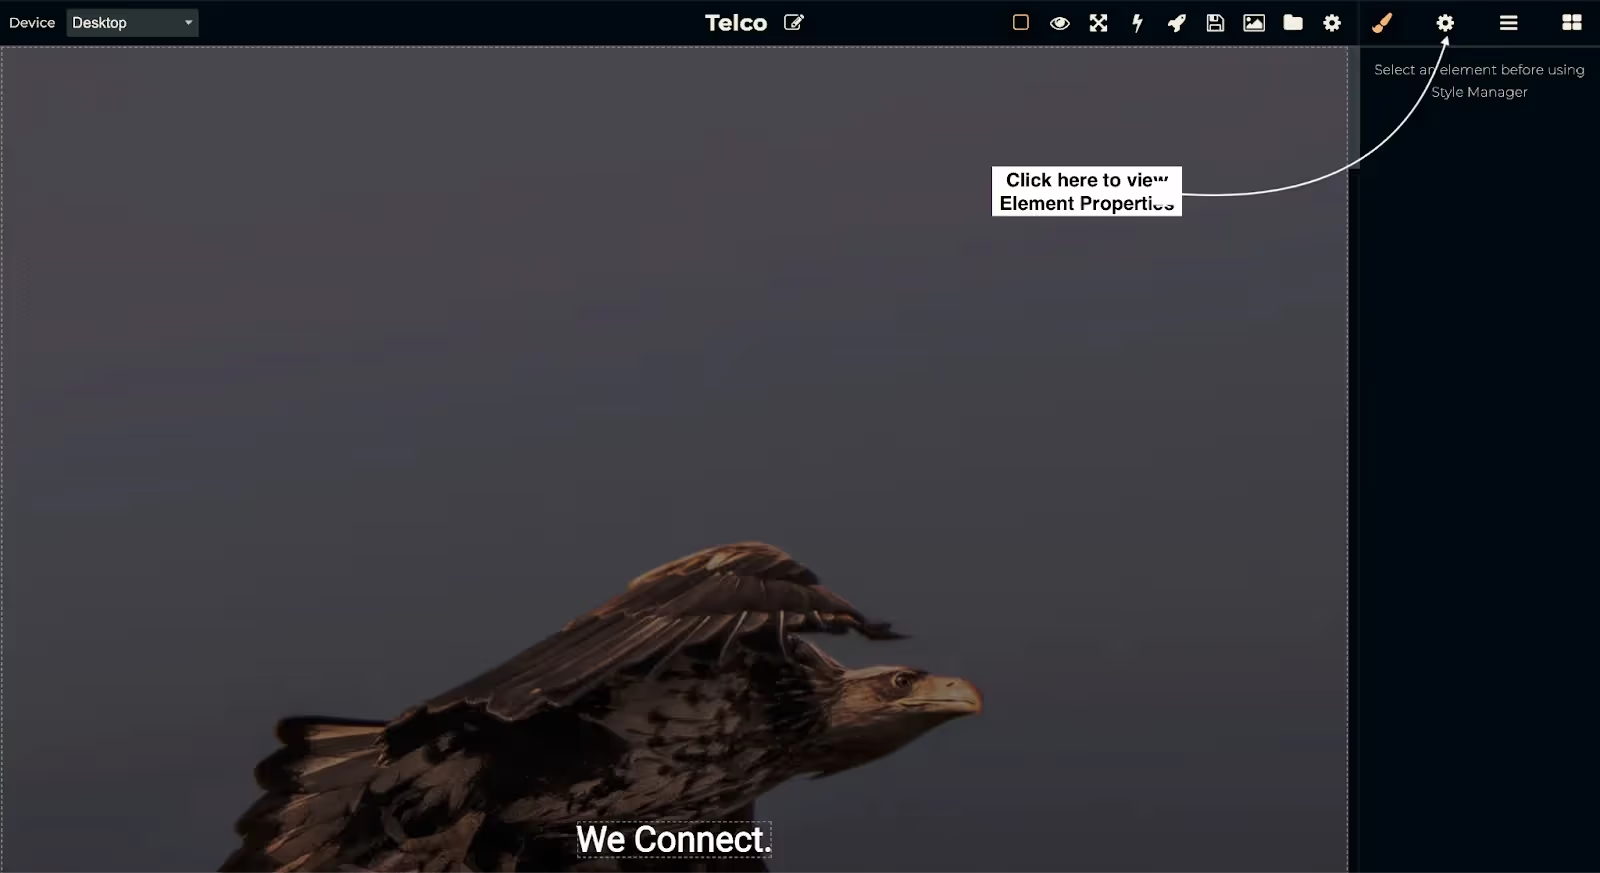
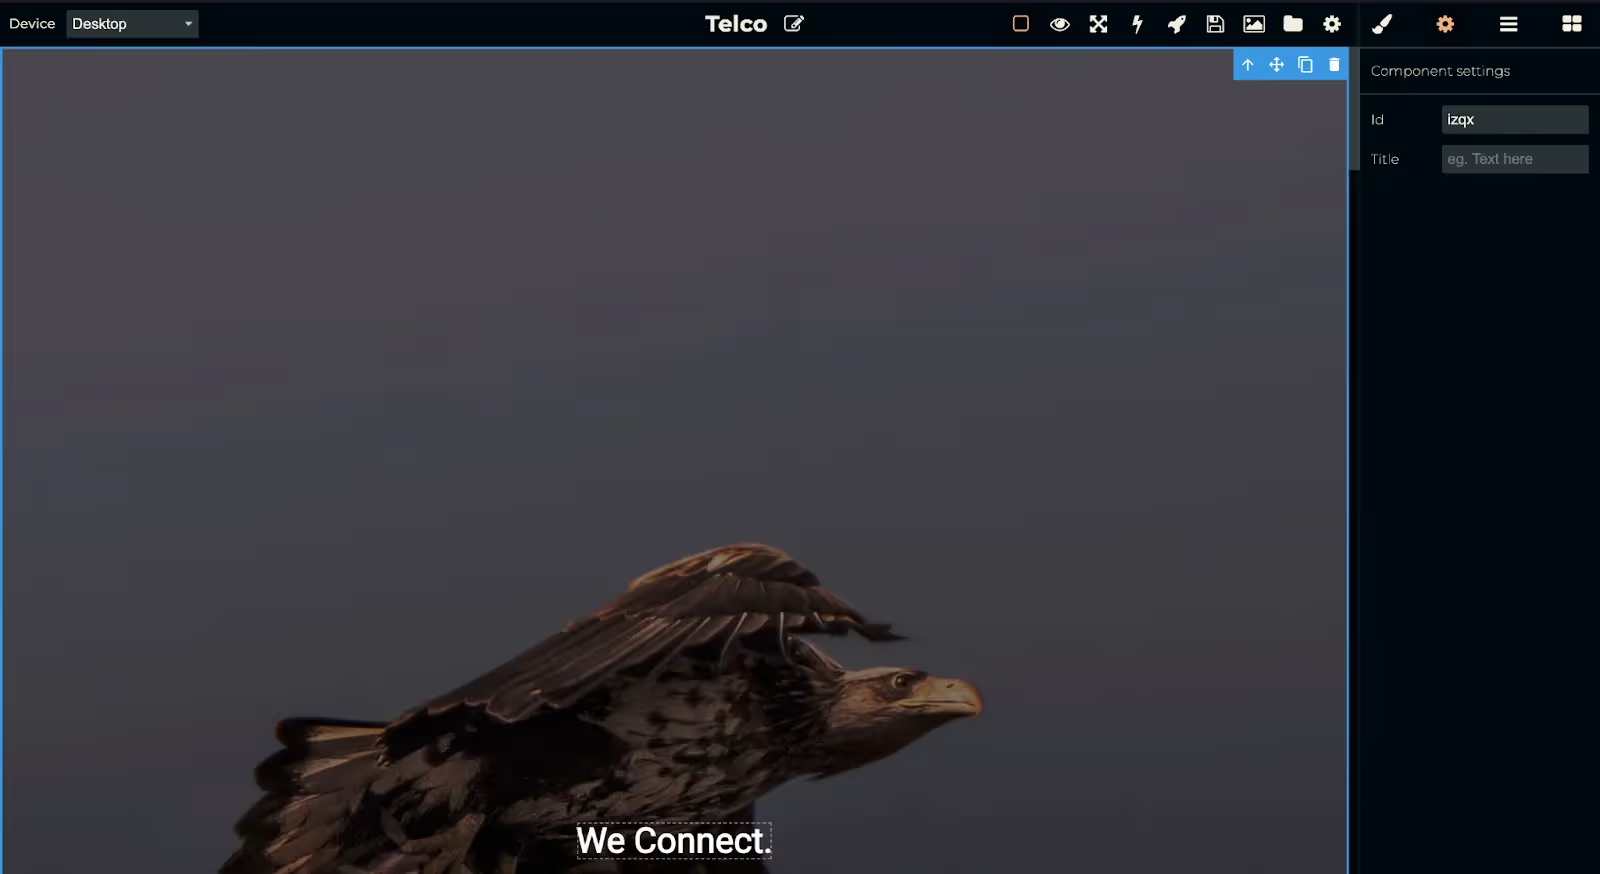
Click on the gear icon to update its properties. This icon allows you to access the settings and make adjustments to the selected element
Change Element Styles
Click on the paintbrush icon located at the top-right corner of the element to adjust its style. This allows you to customize the appearance of the element, such as its color, font, size, alignment, and other styling options, helping you match the element's design to your page's overall look and feel.

%201.svg)


.svg)


.svg)