%201.svg)
Step-by-Step Instructions to add a User
Accessing User Management
- In home page click on the channels icon.
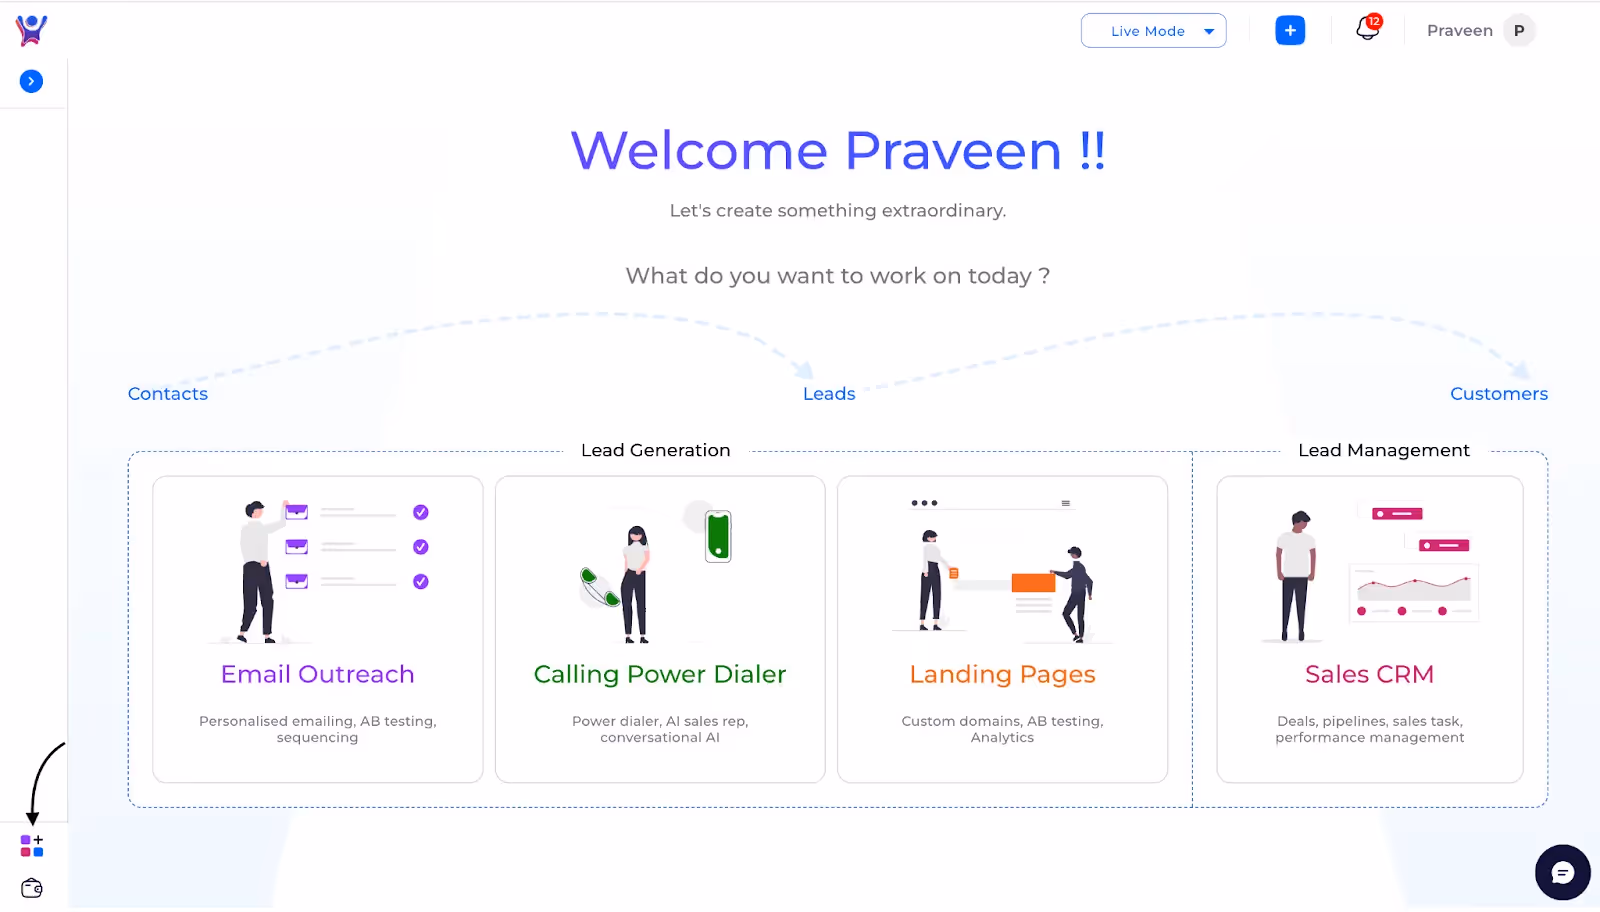
- Click on the others option.

- Click on the user management icon.
Creating a User
- Users can be created through three methods:some text
- Enter user details manually
- Invite user with email
- Copy registration URL
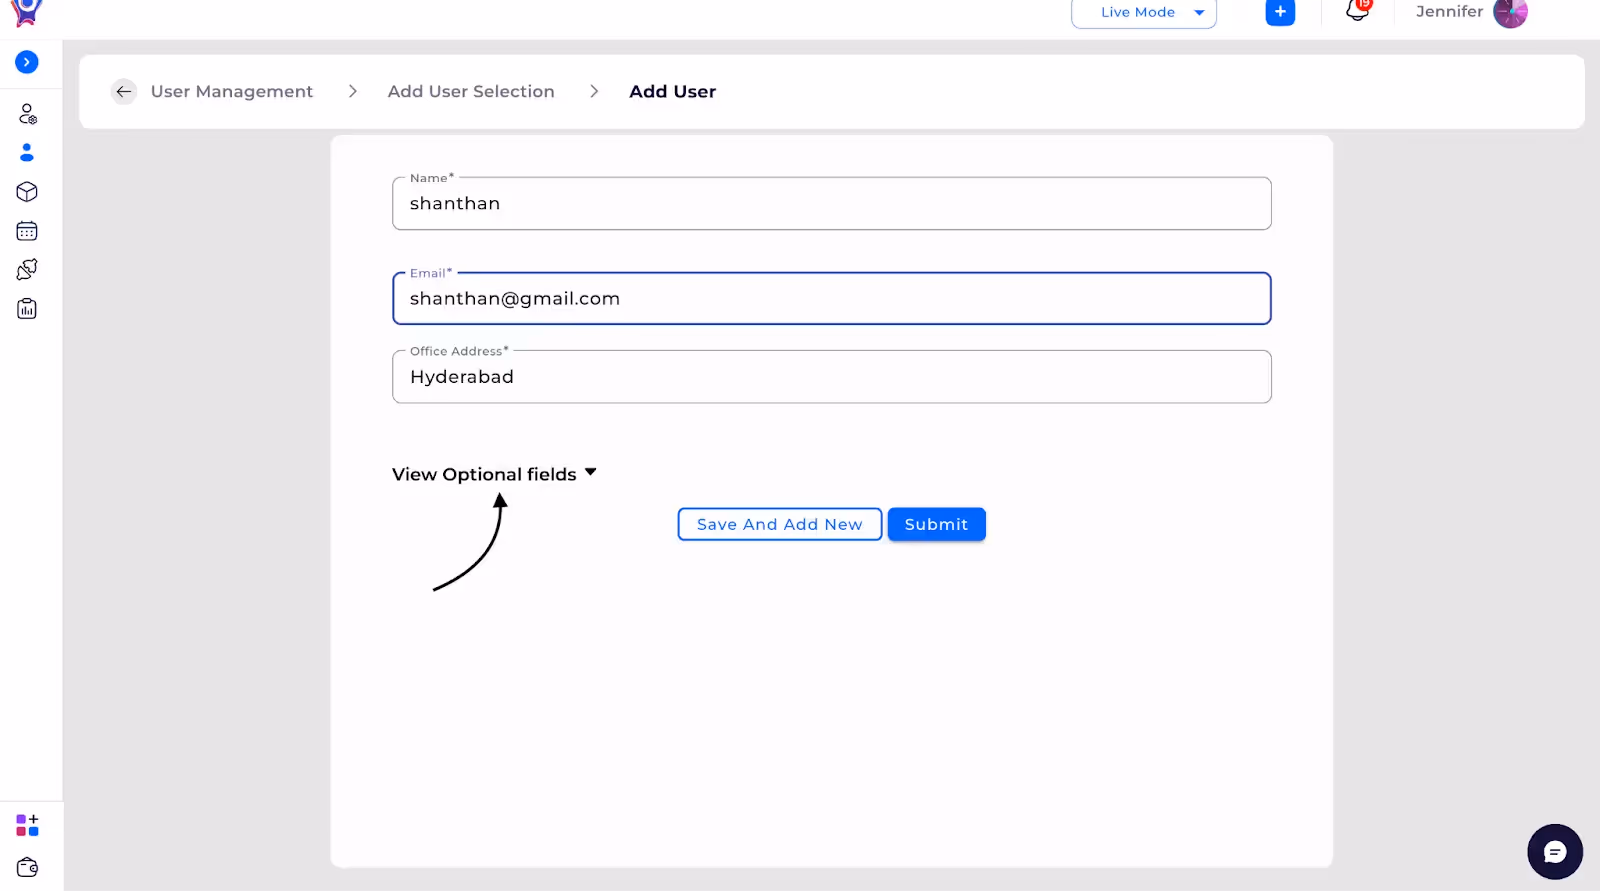
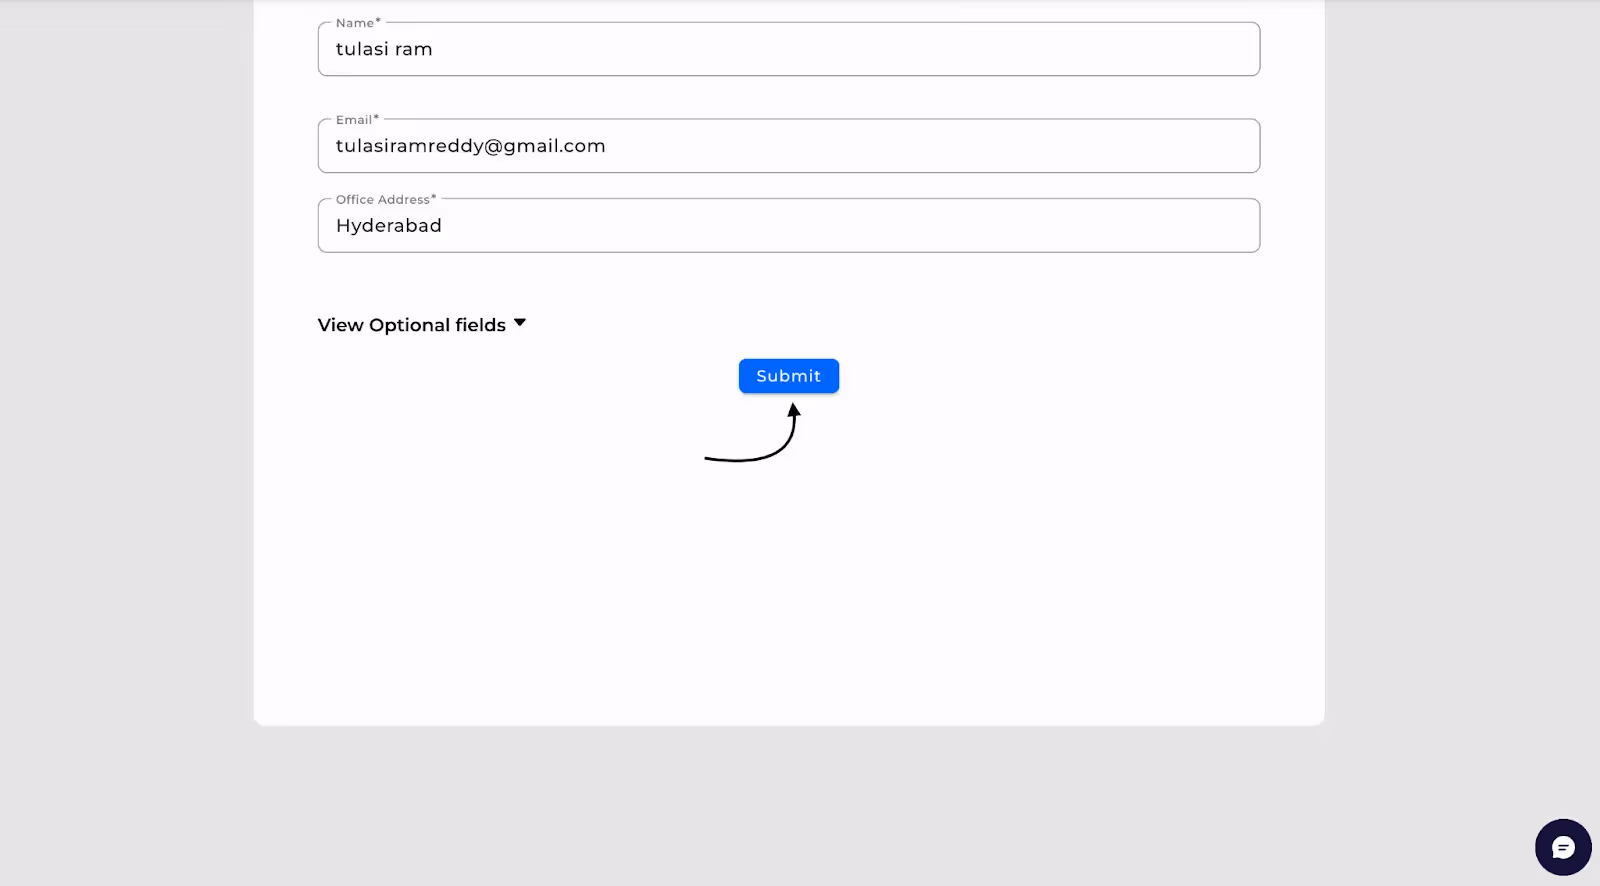
Entering User Details Manually
1.Click on the Add Icon
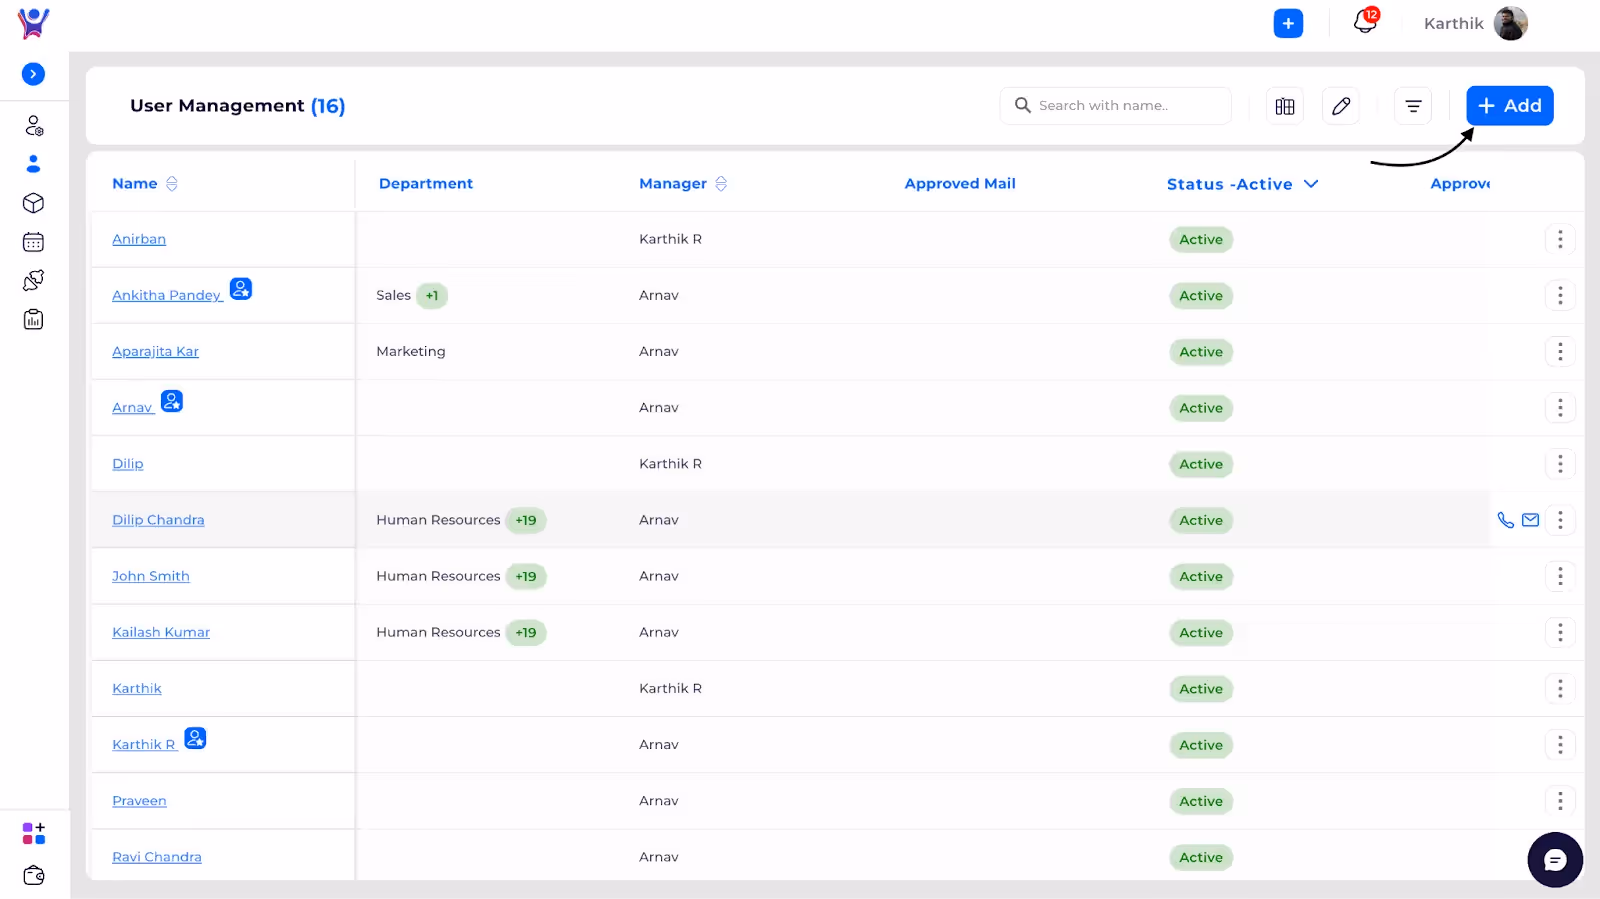
- Select "Enter User Details"

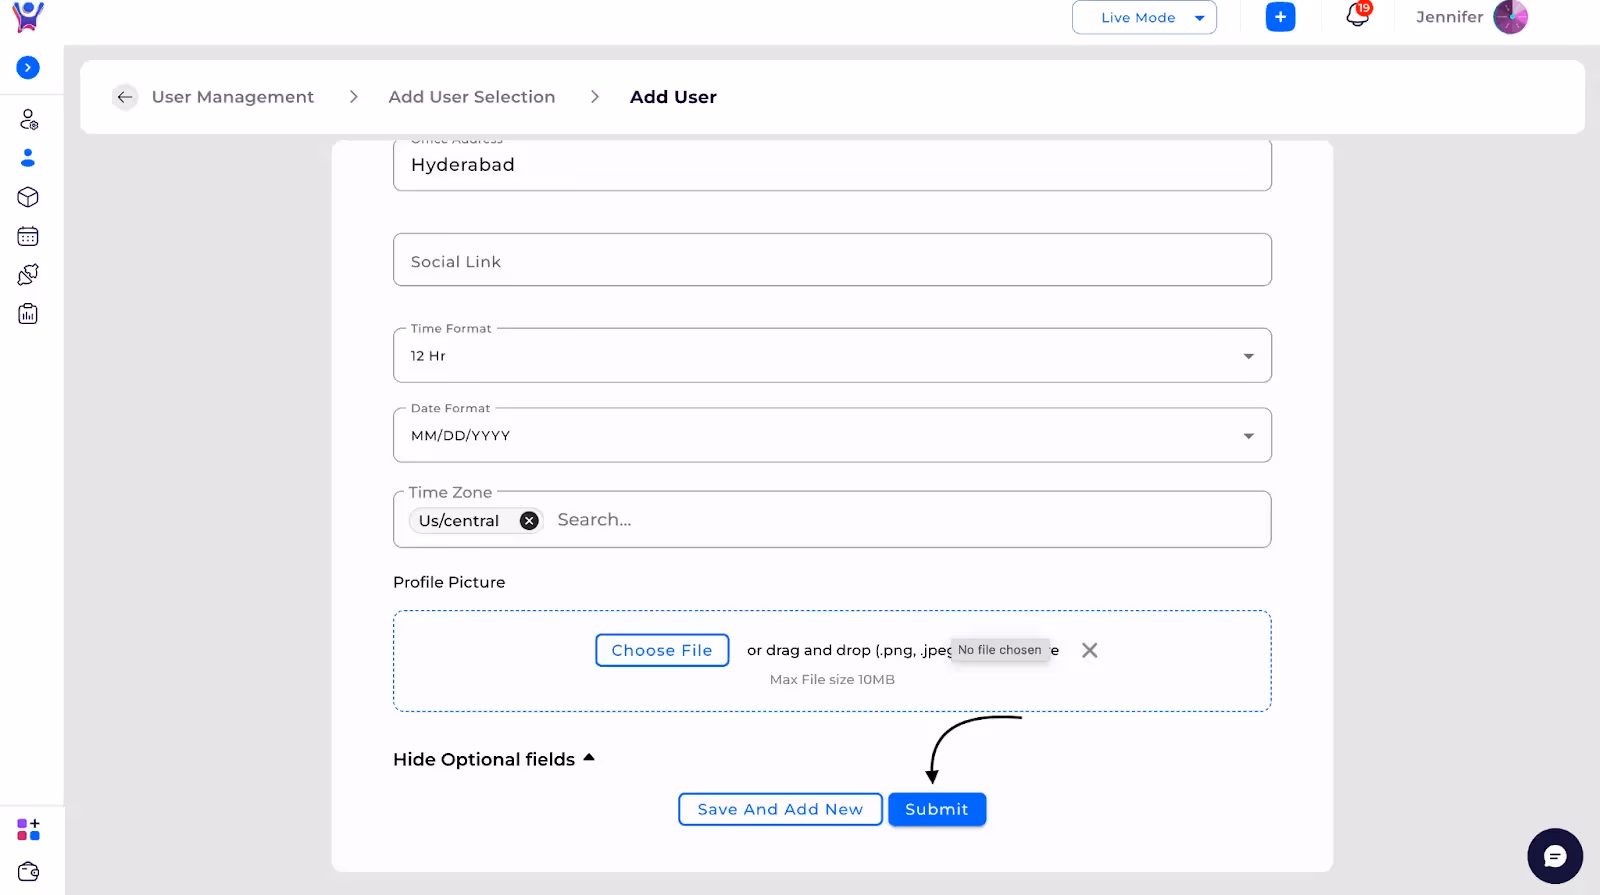
- Fill in the required information and Optionally view additional fields by clicking View Optional Fields.
- Click the Submit Icon
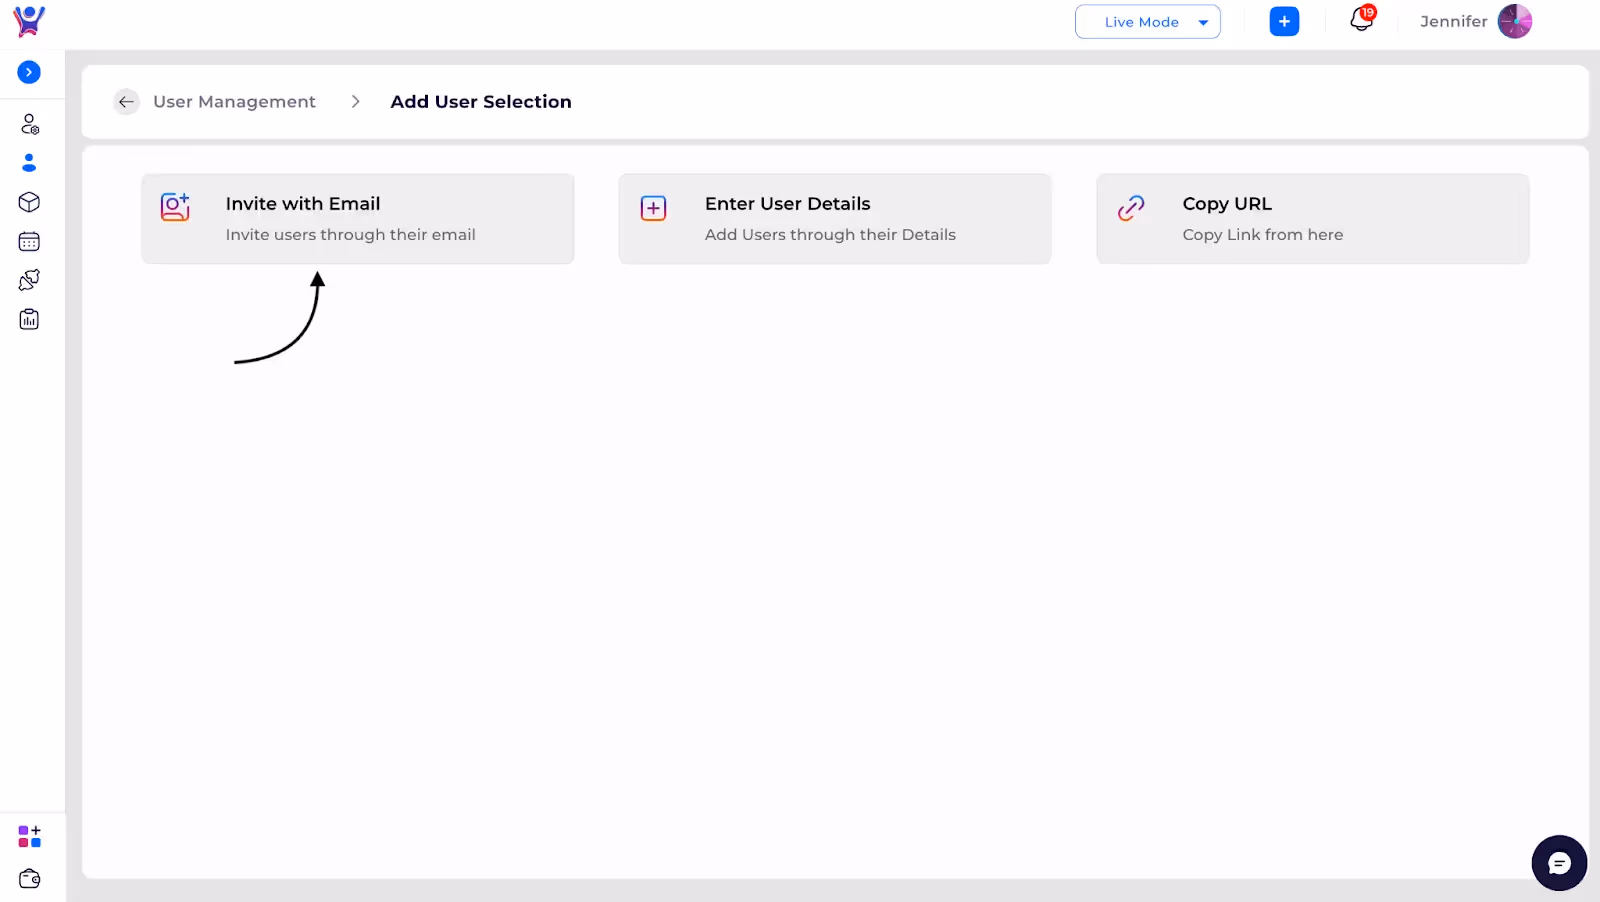
Inviting via Email
- Click "Invite with Email".
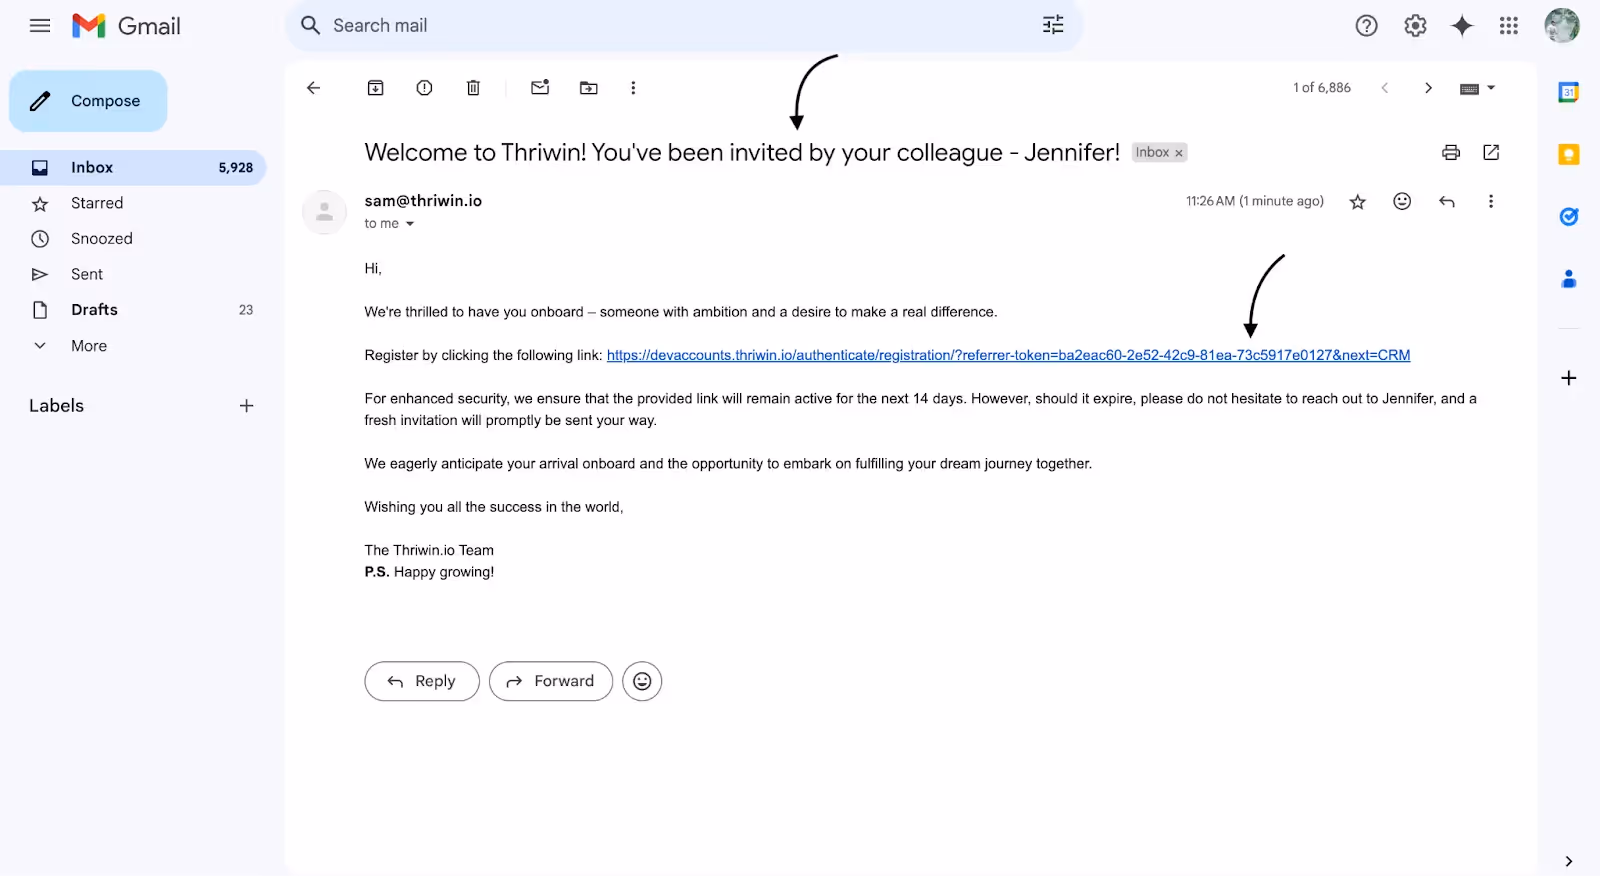
- Enter the user's work email address and click on invite to send invitation link.

- User receives an email with registration instructions.
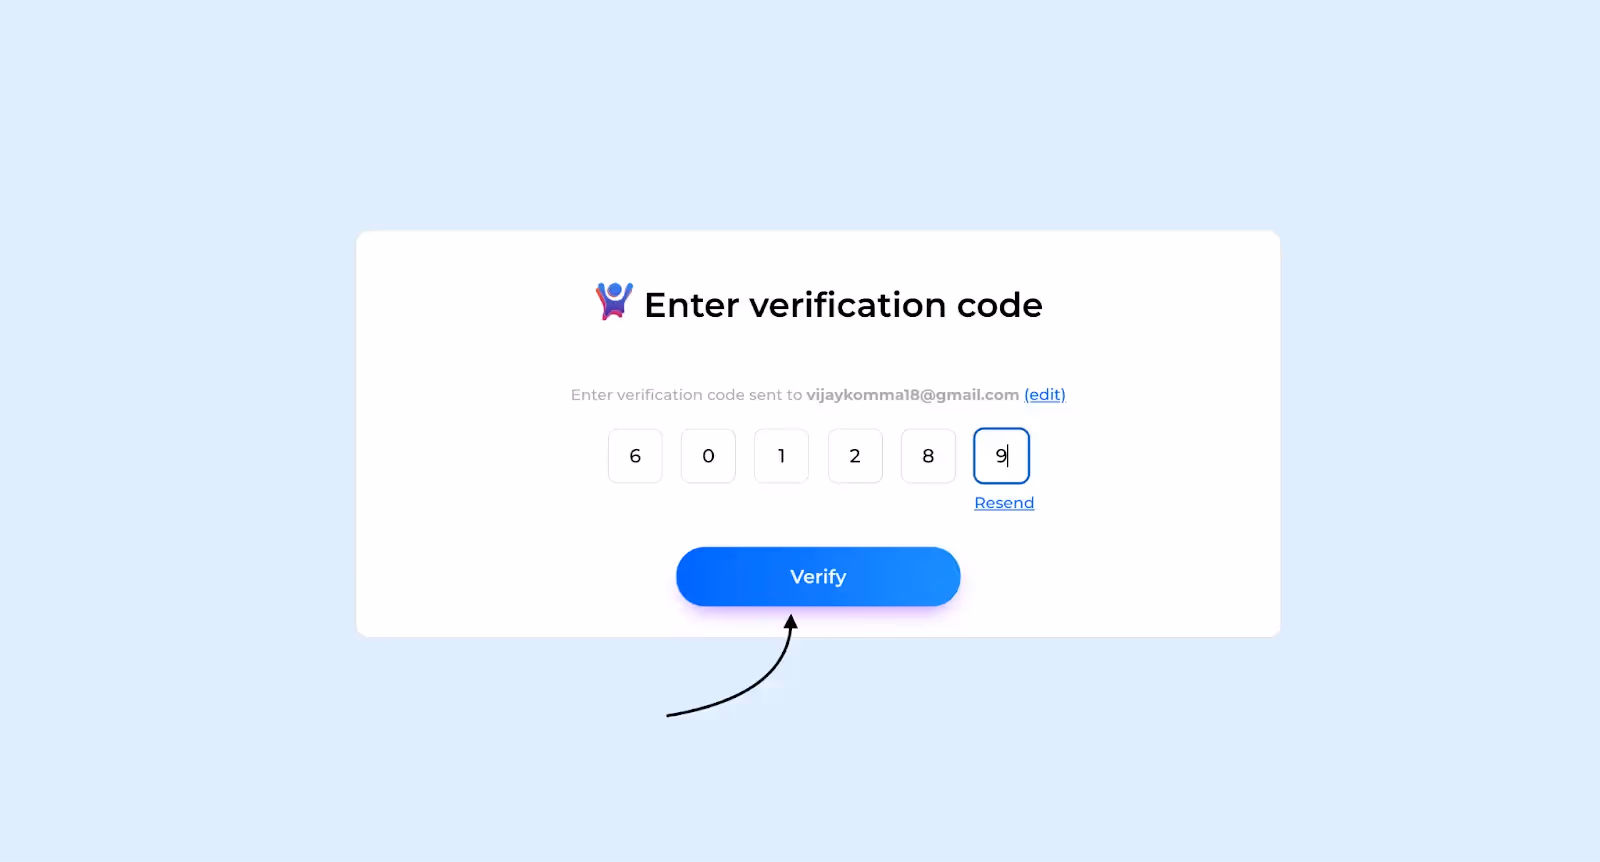
- Now, User has to complete registration, enter name, mobile number and then click on continue.

- Now, the user has to complete the verification.
- The user will be taken to the homepage of the CRM Portal.

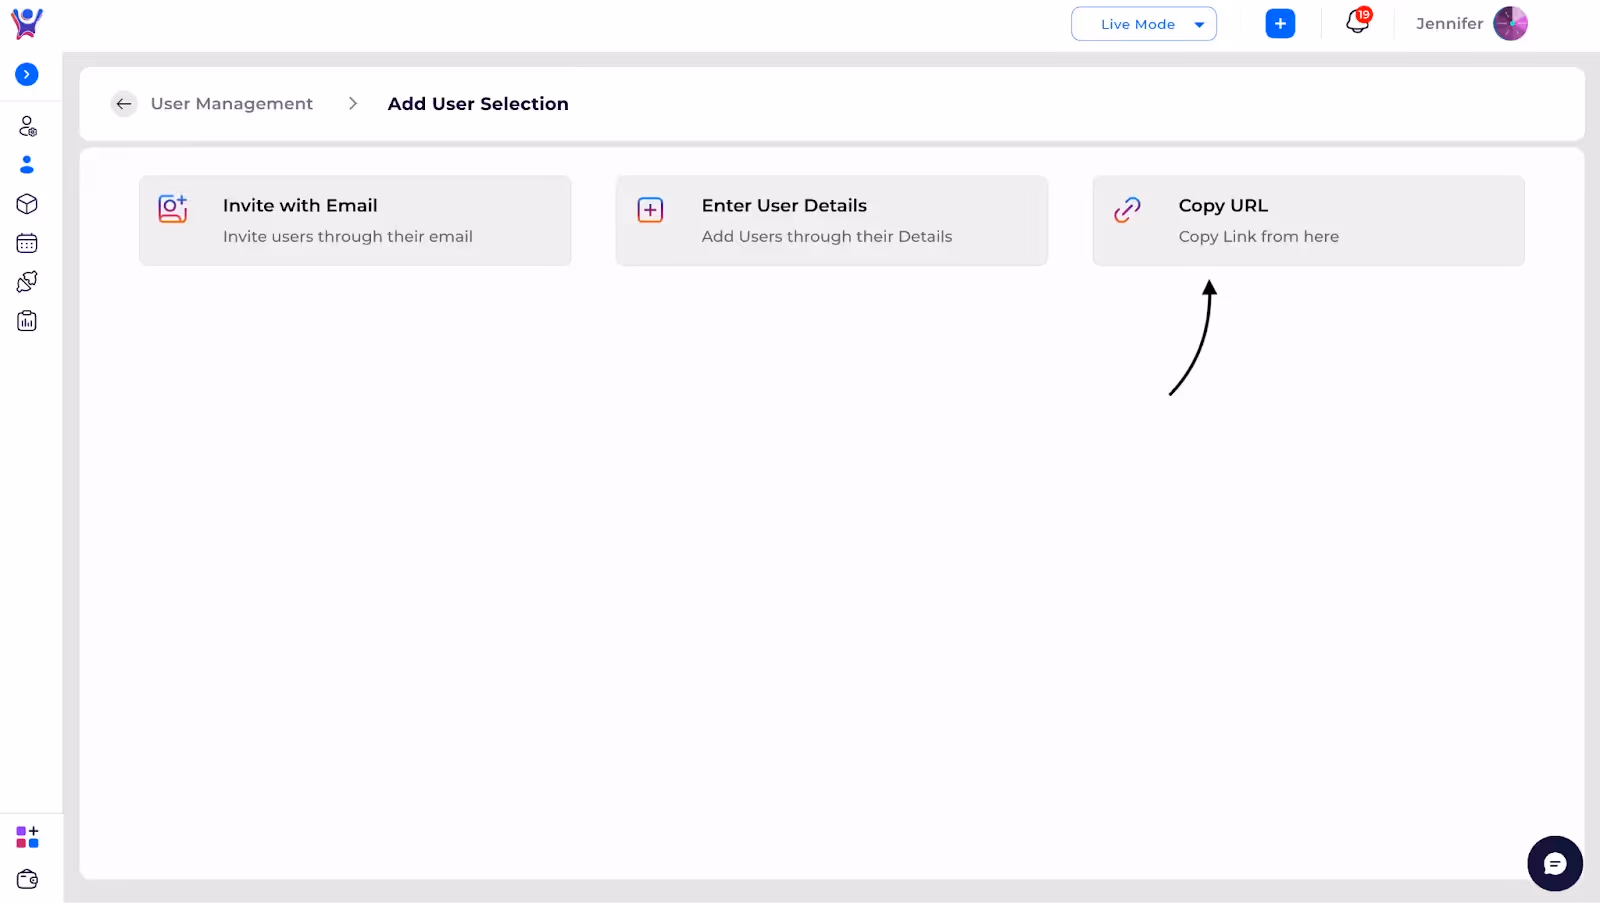
Copying Registration URL
- Click "Copy URL".
- Share the generated link with new users.
- Now user has to open the respective link,he will be redirected to registration page.

- User has to complete the registration process, by giving personal details and then verifying the email.


- User form will be opened, enter respective details and click on submit.
- Hurrah! The user account will be created and user will be redirected to home page.


.svg)


.svg)